
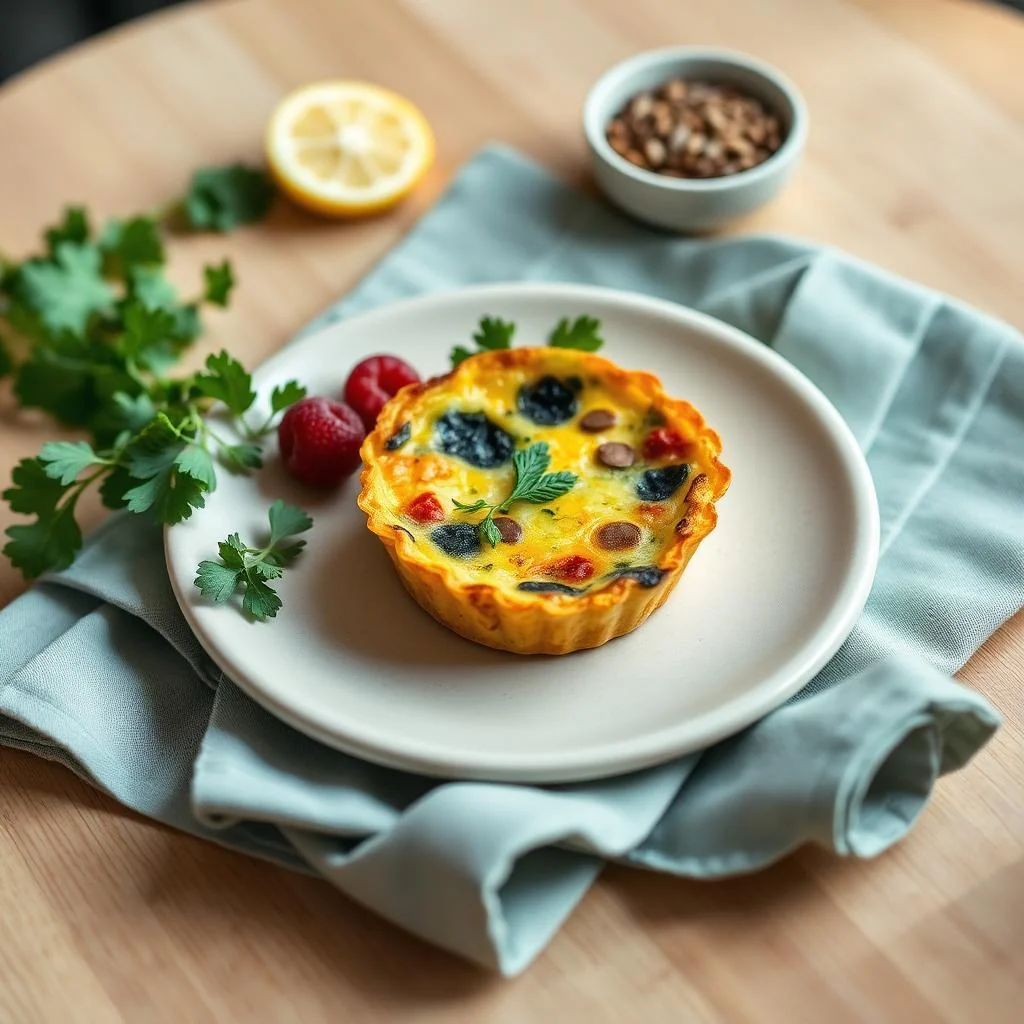
Mini Quiches

I still remember the first time I made mini quiches for my family. It was a Sunday morning, and we were all looking for a quick and easy breakfast that wouldn't weigh us down. I had some leftover ham, cheese, and vegetables in the fridge, so I decided to whip up a batch of these individual savory pastries. The result was a huge hit - everyone loved the combination of flaky crust, gooey cheese, and savory fillings.
As a registered dietitian, I'm always looking for ways to make healthy food that's also delicious and convenient. Mini quiches fit the bill perfectly. They're easy to make in advance, can be refrigerated or frozen for later, and are perfect for a quick breakfast or snack on-the-go. Plus, they're highly customizable - you can use whatever fillings you like, from classic ham and cheese to more adventurous options like spinach and feta.
One of the things I love about mini quiches is how versatile they are. You can serve them at room temperature or warmed up, and they're just as good for a crowd as they are for a solo breakfast. They're also a great way to use up leftover ingredients - just chop them up and add them to the filling. And because they're so small, you can make a batch in no time and have them ready to go for the rest of the week.
In this recipe, I'll show you how to make mini quiches from scratch, using a simple and flaky crust and a variety of delicious fillings. Whether you're a seasoned cook or a beginner in the kitchen, you'll find that these quiches are easy to make and fun to customize. So let's get started!
Before we dive into the recipe, I just want to note that I've included some helpful tips and variations at the end of the article. These will give you some ideas for mixing things up and making the recipe your own. And if you have any questions or need further clarification on any of the steps, be sure to check out the FAQ section.
Why You’ll Love This Recipe
- They're easy to make and require minimal ingredients.
- They're perfect for a quick breakfast or snack on-the-go.
- They're highly customizable - you can use whatever fillings you like.
- They're a great way to use up leftover ingredients.
- They're perfect for a crowd or for a solo breakfast.
- They're easy to make in advance and can be refrigerated or frozen for later.
Why This Recipe Works
So what makes mini quiches so special? For one thing, they're incredibly versatile. You can use a variety of fillings, from classic ham and cheese to more adventurous options like spinach and feta. This means you can customize the quiches to suit your tastes and dietary needs. Plus, the small size of the quiches makes them perfect for a quick breakfast or snack on-the-go.
Another reason mini quiches work so well is that they're easy to make in advance. You can prepare the crust and filling ahead of time, then assemble and bake the quiches just before serving. This makes them perfect for busy mornings or for special occasions when you want to impress your guests. And because they're so small, you can make a batch in no time and have them ready to go for the rest of the week.
Finally, mini quiches are a great way to get your daily dose of protein and vegetables. The eggs and cheese provide a good source of protein, while the fillings can be packed with a variety of vegetables. This makes them a nutritious and balanced option for breakfast or snack time. And because they're so easy to customize, you can make sure they fit your dietary needs and preferences.
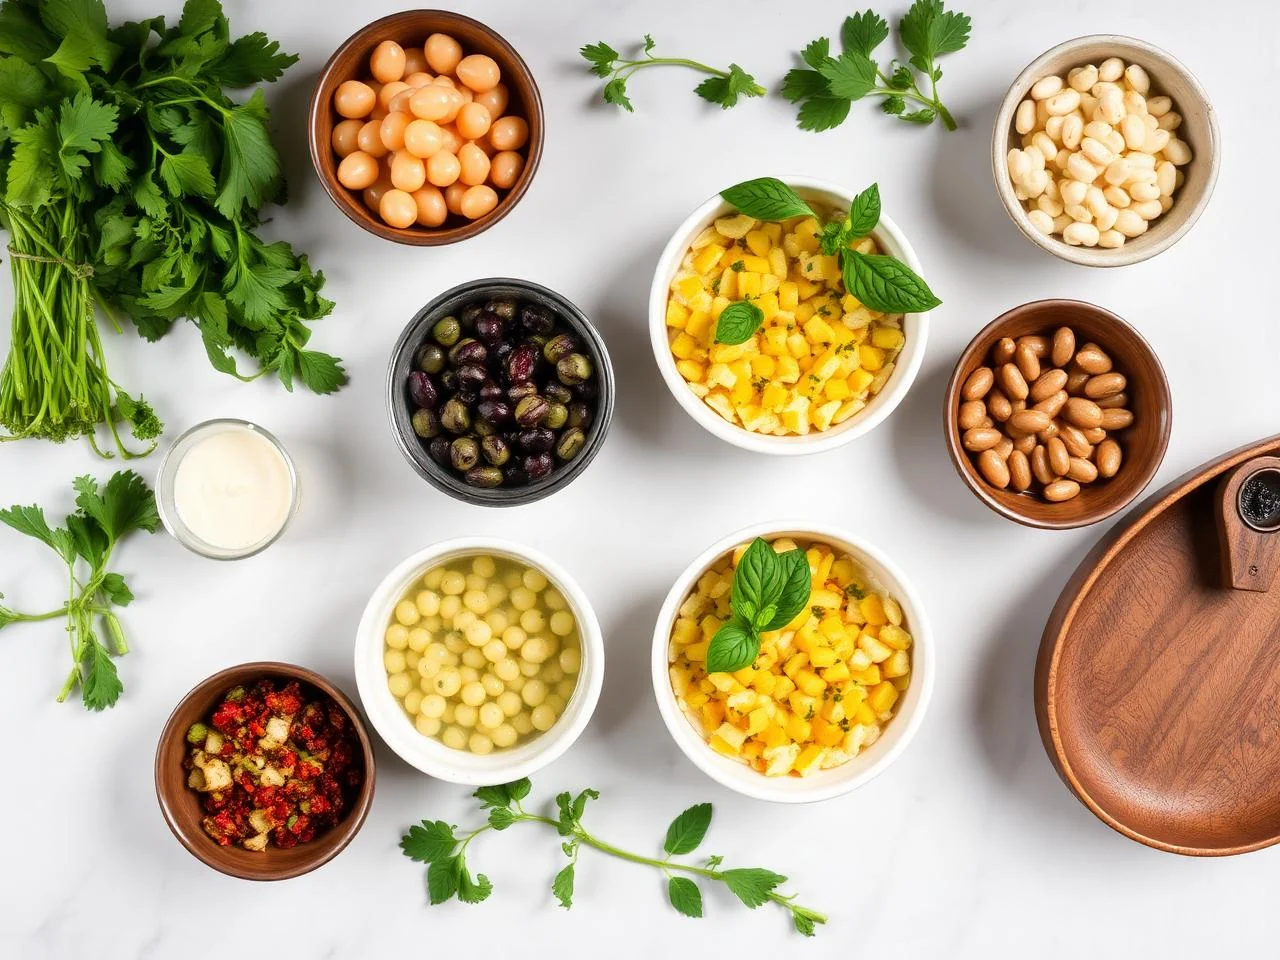
Ingredients You’ll Need
Before we start making our mini quiches, let's take a look at the ingredients we'll need. We'll be using a simple and flaky crust, made with all-purpose flour, cold unsalted butter, and ice-cold water. For the filling, we'll be using a combination of eggs, cheese, ham, and vegetables. You can customize the filling to suit your tastes and dietary needs, so feel free to get creative!
When shopping for ingredients, be sure to choose high-quality items that are fresh and flavorful. For the cheese, you can use whatever type you like - cheddar, Swiss, or mozzarella all work well. For the ham, you can use diced ham or Canadian bacon. And for the vegetables, you can use whatever you like - bell peppers, onions, mushrooms, and spinach are all great options.
- 2 1/4 cups all-purpose flourAll-purpose flour provides the structure and texture for our crust. Make sure to choose a high-quality flour that is fresh and has not been sitting on the shelf for too long.
- 1 tsp saltSalt enhances the flavor of our crust and helps to bring out the natural sweetness of the ingredients. Use a high-quality salt that is fresh and has not been iodized.
- 1/2 cup cold unsalted butter, cut into small piecesCold unsalted butter is essential for creating a flaky and tender crust. Make sure to keep the butter cold until you're ready to use it, and cut it into small pieces so that it's easy to work with.
- 1/4 cup ice-cold waterIce-cold water helps to bring the dough together and creates a smooth and even texture. Make sure to use ice-cold water, as this will help to prevent the dough from becoming too warm and sticky.
- 4 large eggsEggs provide the moisture and richness for our filling. Make sure to choose high-quality eggs that are fresh and have not been sitting in the fridge for too long.
- 1 cup grated cheeseCheese adds flavor and creaminess to our filling. You can use whatever type of cheese you like, but make sure to choose a high-quality cheese that is fresh and has not been sitting on the shelf for too long.
- 1/2 cup diced hamHam adds a salty and savory flavor to our filling. You can use whatever type of ham you like, but make sure to choose a high-quality ham that is fresh and has not been sitting in the fridge for too long.
- 1/2 cup diced bell peppersBell peppers add a sweet and crunchy texture to our filling. You can use whatever color bell peppers you like, but make sure to choose high-quality peppers that are fresh and have not been sitting in the fridge for too long.
- 1/4 cup chopped fresh parsleyParsley adds a fresh and herbaceous flavor to our filling. Make sure to choose high-quality parsley that is fresh and has not been sitting in the fridge for too long.
- 1/2 tsp black pepperBlack pepper enhances the flavor of our filling and helps to bring out the natural sweetness of the ingredients. Use a high-quality pepper that is fresh and has not been sitting on the shelf for too long.
Equipment You’ll Need
How to Make Mini Quiches
- 1Preheat your oven to 375°F (190°C). Make sure to use an oven thermometer to ensure that your oven is at the correct temperature.
- 2In a large mixing bowl, combine the flour and salt. Whisk the ingredients together until they are well combined.
- 3Add the cold unsalted butter to the flour mixture and use a pastry blender or food processor to work the butter into the flour until the mixture resembles coarse crumbs.
- 4Gradually add the ice-cold water to the mixture, stirring with a fork until the dough comes together in a ball.
- 5Turn the dough out onto a lightly floured surface and roll it out to a thickness of about 1/8 inch.
- 6Use a cookie cutter or the rim of a glass to cut out circles of dough. You should be able to get about 12-15 circles.
- 7In a separate bowl, whisk together the eggs, cheese, ham, bell peppers, parsley, and black pepper.
- 8Spoon a small amount of the egg mixture into the center of each dough circle. Make sure to leave a 1/2 inch border around the edges.
- 9Fold the dough over the filling, pressing the edges together to seal the quiche. Use a fork to crimp the edges and create a decorative border.
- 10Place the quiches in a muffin tin and bake for 20-25 minutes, or until the crust is golden brown and the filling is set.
- 11Remove the quiches from the oven and let them cool in the tin for 5 minutes. Then, transfer them to a wire rack to cool completely.
- 12Use an instant-read thermometer to check the internal temperature of the quiches. The temperature should be at least 165°F (74°C) to ensure that the eggs are cooked through.
- 13Serve the quiches warm or at room temperature. You can store them in an airtight container in the fridge for up to 3 days or freeze them for up to 2 months.
Expert Tips
- Make sure to keep the butter cold until you're ready to use it, as this will help to create a flaky and tender crust.
- Don't overwork the dough, as this can cause it to become tough and dense.
- Use a variety of fillings to keep the quiches interesting and delicious.
- Don't overfill the quiches, as this can cause them to burst open during baking.
- Let the quiches cool completely before storing them, as this will help to prevent them from becoming soggy.
- Experiment with different types of cheese and ham to find your favorite combination.
- Consider adding some diced herbs or spices to the egg mixture for extra flavor.
- If you're having trouble getting the quiches to seal, try using a little bit of water to help the edges stick together.
Common Mistakes to Avoid
- Overworking the dough, which can cause it to become tough and dense.
- Not leaving enough space between the quiches, which can cause them to stick together.
- Overfilling the quiches, which can cause them to burst open during baking.
- Not using a high-quality cheese, which can affect the flavor and texture of the quiches.
- Not letting the quiches cool completely before storing them, which can cause them to become soggy.
- Not using an instant-read thermometer to check the internal temperature of the quiches, which can cause them to be undercooked or overcooked.
Variations and Substitutions
- Add some diced ham or bacon to the egg mixture for a smoky flavor.
- Use different types of cheese, such as cheddar or Swiss, for a unique flavor.
- Add some chopped herbs, such as parsley or thyme, to the egg mixture for extra flavor.
- Use a variety of vegetables, such as bell peppers or mushrooms, to add flavor and texture.
- Consider adding some grated carrots or zucchini to the egg mixture for extra nutrition.
- Use a gluten-free flour blend to make the quiches gluten-free.
- Add some diced cooked chicken or turkey to the egg mixture for extra protein.
What to Serve With Mini Quiches
Mini quiches are perfect for serving at breakfast or brunch, and they're also great as a snack or light lunch. You can serve them on their own or with a side of fruit or salad. They're also a great option for a party or special occasion, as they're easy to make in large quantities and can be customized with a variety of fillings.
Some other ideas for serving mini quiches include:
- Serving them with a side of hash browns or home fries for a hearty breakfast.
- Adding them to a brunch buffet with other savory and sweet dishes.
- Serving them as a snack at a party or special occasion, with a variety of dips and spreads.
- Packing them in a lunch or snack box for a quick and easy meal on-the-go.
Make-Ahead, Storage, Freezing and Reheating
Mini quiches can be stored in an airtight container in the fridge for up to 3 days or frozen for up to 2 months. To freeze, simply place the quiches in a single layer on a baking sheet and put them in the freezer until they're frozen solid. Then, transfer them to a freezer-safe bag or container and store them in the freezer.
To reheat frozen quiches, simply bake them in a preheated oven at 375°F (190°C) for 10-15 minutes, or until they're hot and crispy. You can also reheat them in the microwave, but be careful not to overheat them, as this can cause them to become soggy.
It's also a good idea to label the quiches with the date they were made and what's in them, so you can easily keep track of what you have in the fridge or freezer. And if you're planning to serve the quiches at a party or special occasion, you can make them ahead of time and store them in the fridge or freezer until you're ready to serve them.
In addition to storing the quiches themselves, you can also store the ingredients separately and assemble the quiches just before baking. This can be a good option if you want to make a large batch of quiches, but don't have the space to store them all in the fridge or freezer. Simply store the ingredients in airtight containers and assemble the quiches just before baking.
Frequently Asked Questions
Can I make mini quiches ahead of time?
Yes, you can make mini quiches ahead of time and store them in the fridge or freezer until you're ready to serve them. Simply assemble the quiches, bake them, and then let them cool completely before storing them.
Can I customize the fillings for mini quiches?
Yes, you can customize the fillings for mini quiches to suit your tastes and dietary needs. Some ideas for fillings include diced ham, cheese, bell peppers, onions, mushrooms, and spinach.
How do I know when the quiches are done?
The quiches are done when the crust is golden brown and the filling is set. You can check the internal temperature of the quiches with an instant-read thermometer to make sure they're cooked through. The temperature should be at least 165°F (74°C).
Can I freeze mini quiches?
Yes, you can freeze mini quiches for up to 2 months. Simply place the quiches in a single layer on a baking sheet and put them in the freezer until they're frozen solid. Then, transfer them to a freezer-safe bag or container and store them in the freezer.
How do I reheat frozen quiches?
To reheat frozen quiches, simply bake them in a preheated oven at 375°F (190°C) for 10-15 minutes, or until they're hot and crispy. You can also reheat them in the microwave, but be careful not to overheat them, as this can cause them to become soggy.
Can I make gluten-free mini quiches?
Yes, you can make gluten-free mini quiches by using a gluten-free flour blend in place of the all-purpose flour. Simply substitute the gluten-free flour for the all-purpose flour in the recipe and proceed as usual.
How do I prevent the quiches from sticking to the muffin tin?
To prevent the quiches from sticking to the muffin tin, make sure to grease the tin with butter or cooking spray before adding the quiches. You can also use a non-stick muffin tin to prevent sticking.
Can I make mini quiches in a regular-sized muffin tin?
Yes, you can make mini quiches in a regular-sized muffin tin. Simply adjust the baking time as needed to ensure that the quiches are cooked through.
How do I know if the quiches are overcooked?
The quiches are overcooked if the crust is too brown or the filling is too dry. To prevent overcooking, make sure to check the quiches frequently during the baking time and remove them from the oven when they're golden brown and the filling is set.
Ingredients
- 2 1/4 cups all-purpose flour
- 1 tsp salt
- 1/2 cup cold unsalted butter, cut into small pieces
- 1/4 cup ice-cold water
- 4 large eggs
- 1 cup grated cheese
- 1/2 cup diced ham
- 1/2 cup diced bell peppers
- 1/4 cup chopped fresh parsley
- 1/2 tsp black pepper
Instructions
- Preheat your oven to 375°F (190°C). Make sure to use an oven thermometer to ensure that your oven is at the correct temperature.
- In a large mixing bowl, combine the flour and salt. Whisk the ingredients together until they are well combined.
- Add the cold unsalted butter to the flour mixture and use a pastry blender or food processor to work the butter into the flour until the mixture resembles coarse crumbs.
- Gradually add the ice-cold water to the mixture, stirring with a fork until the dough comes together in a ball.
- Turn the dough out onto a lightly floured surface and roll it out to a thickness of about 1/8 inch.
- Use a cookie cutter or the rim of a glass to cut out circles of dough. You should be able to get about 12-15 circles.
- In a separate bowl, whisk together the eggs, cheese, ham, bell peppers, parsley, and black pepper.
- Spoon a small amount of the egg mixture into the center of each dough circle. Make sure to leave a 1/2 inch border around the edges.
- Fold the dough over the filling, pressing the edges together to seal the quiche. Use a fork to crimp the edges and create a decorative border.
- Place the quiches in a muffin tin and bake for 20-25 minutes, or until the crust is golden brown and the filling is set.
- Remove the quiches from the oven and let them cool in the tin for 5 minutes. Then, transfer them to a wire rack to cool completely.
- Use an instant-read thermometer to check the internal temperature of the quiches. The temperature should be at least 165°F (74°C) to ensure that the eggs are cooked through.
- Serve the quiches warm or at room temperature. You can store them in an airtight container in the fridge for up to 3 days or freeze them for up to 2 months.