...
etc. Let's start. We'll need to include the hidden category, season, pin description at the end. Now, we need to craft the Pinterest description: 400-450 characters, no hashtags, no "Save this pin". Must describe taste, texture, key ingredients, why recipe is special. Let's craft: "Indulge in silky strawberry marshmallow frosting that melts on the tongue, blending creamy butter, airy marshmallow fluff, and sweet freeze‑dried strawberries into a glossy, airy glaze. Its light, cloud‑like texture crowns cakes and cupcakes with a burst of fruity sweetness, turning everyday desserts into show‑stopping treats." Count characters: Let's count. We'll approximate. Let's count manually: Indulge(8) in(2) silky(5) strawberry(10) marshmallow(11) frosting(8) that(4) melts(5) on(2) the(3) tongue,(7) blending(8) creamy(6) butter,(6) airy(4) marshmallow(11) fluff,(6) and(3) sweet(5) freeze‑dried(12) strawberries(11) into(4) a(1) glossy,(7) airy(4) glaze.(6) Its(3) light,(5) cloud‑like(9) texture(7) crowns(6) cakes(5) and(3) cupcakes(8) with(4) a(1) burst(5) of(2) fruity(6) sweetness,(9) turning(7) everyday(8) desserts(8) into(4) show‑stopping(12) treats.(7) Let's add spaces: 8+1+2+1+5+1+10+1+11+1+8+1+5+1+6+1+4+1+11+1+6+1+3+1+8+1+6+1+4+1+1+1+5+1+2+1+6+1+9+1+7+1+8+1+5+1+4+1+8+1+4+1+12+1+7 = sum. Let's approximate: 8+2+5+10+11+8+5+6+4+11+6+3+8+6+4+11+6+3+8+6+4+1+5+2+6+9+7+8+5+4+8+4+12+7 = 8+2=10, +5=15, +10=25, +11=36, +8=44, +5=49, +6=55, +4=59, +11=70, +6=76, +3=79, +8=87, +6=93, +4=97, +11=108, +6=114, +3=117, +8=125, +6=131, +4=135, +1=136, +5=141, +2=143, +6=149, +9=158, +7=165, +8=173, +5=178, +4=182, +8=190, +4=194, +12=206, +7=213. Plus spaces 1 between words: number of words? Let's count words: Indulge(1) in(2) silky(3) strawberry(4) marshmallow(5) frosting(6) that(7) melts(8) on(9) the(10) tongue,(11) blending(12) creamy(13) butter,(14) airy(15) marshmallow(16) fluff,(17) and(18) sweet(19) freeze‑dried(20) strawberries(21) into(22) a(23) glossy,(24) airy(25) glaze.(26) Its(27) light,(28) cloud‑like(29) texture(30) crowns(31) cakes(32) and(33) cupcakes(34) with(35) a(36) burst(37) of(38) fruity(39) sweetness,(40) turning(41) everyday(42) desserts(43) into(44) show‑stopping(45) treats.(46). 46 words. 46*8? average 8 letters each? 46*8=368. plus spaces 45. So about 413 characters. That's within 400-450. Good. Now we need to add that as hidden div. Now, we need to ensure we don't use any emoji. So no emojis. Now, let's start writing. We'll produce the introduction paragraphs. Paragraph 1: start with bold statement about kitchen disaster or craving. Use sensory description. 4-6 sentences. Paragraph 2: more sensory. Paragraph 3: why this version stands out, mention technique. Paragraph 4: tease technique and transition. Ok. Then Section 2:What Makes This Version Stand Out
with bullet list 6-8 bullet points. Each bullet with Keyword: etc. We'll need to create bullet list. The bullet points should be 6-8. We'll include 7 bullet points. Each bullet with Keyword: then 2-3 sentences. We'll use- .
After bullet list, a paragraph.
Insert Kitchen Hack box after this section.
Section 3:
Inside the Ingredient List
with 3-4 groups. We'll usefor each group. Group 1: The Flavor Base. Group 2: The Texture Crew. Group 3: The Unexpected Star. Group 4: The Final Flourish. Each group will have paragraph(s). We'll include 1-2 paragraphs per group. Include a Fun Fact box about one ingredient's origin or surprising property. End with paragraph. Section 4: mid-article image. Section 5:
The Method — Step by Step
with 8-10 steps. Use- . Each step paragraph 4-6 sentences. Insert 1-2 Kitchen Hack boxes at crucial steps, and Watch Out box at tricky step.
Close with paragraph.
Section 6:
Insider Tricks for Flawless Results
with 5-6 tips each withheadings. Insert Kitchen Hack box for top tip. Section 7:
Creative Twists and Variations
with 5-6 variations each with. Preceded by opening paragraph. Section 8:
Storing and Bringing It Back to Life
with 3 subsections each. Section 9: Recipe card. After that, hidden category, season, pin description. Ok. Now we must ensure we use Bootstrap 5 classes for spacing: mb-3, mt-4 etc. We'll add classes to paragraphs? Not necessary but we can add to sections. We'll produce
etc. Now we need to ensure each paragraph 4-6 sentences. We'll need to count sentences. We'll produce 5 sentences per paragraph. We'll ensure no paragraph is less than 4 sentences. Now we need to produce at least 3000 words. We'll need to produce about 41 paragraphs * 5 sentences * 15 words = 3075 words. We'll produce 41 paragraphs. We need to count paragraphs. We'll have: Introduction: 4 paragraphs. Section 2: bullet list not counted as paragraphs. After bullet list: 1 paragraph. So 1. Section 3: groups: 4 groups each maybe 2 paragraphs? That would be 8. Then Fun Fact box is not paragraph. End paragraph: 1. So 9. Section 5: 10 steps each 1 paragraph: 10. Section 6: 6 tips each 1 paragraph: 6. Section 7: 6 variations each 1 paragraph: 6. Opening paragraph: 1. So 7. Section 8: 3 subsections each 1 paragraph: 3. Total paragraphs: 4 + 1 + 9 + 10 + 6 + 7 + 3 = 40. Add maybe 1 more paragraph somewhere. We can add a paragraph after section 7 maybe. That would be 41. Good. Now we need to ensure each paragraph has 4-6 sentences. We'll produce 5 sentences each. Now we need to write the content. Let's start. I'll write the HTML accordingly. Be careful about not including any emojis or special characters. Use plain text. Also need to use Bootstrap icons where specified: e.g., etc. Already provided. Now we need to include highlight boxes exactly with the specified style. Let's produce. We'll start with
introduction paragraphs. Let's write first paragraph:
I still remember the night I tried to recreate that legendary strawberry frosting from a viral TikTok video, only to end up with a sticky, uneven mess that clung to the bowl like a bad ex. The kitchen was a blur of melted butter, sugary clouds, and the faint scent of vanilla drifting through the air. That disaster taught me one brutal lesson: you either follow a foolproof method or you’re stuck with a frosting that looks like a melted ice cream sundae on a hot day. This is the moment I decided to craft a version that would make even the most skeptical taste buds swoon.
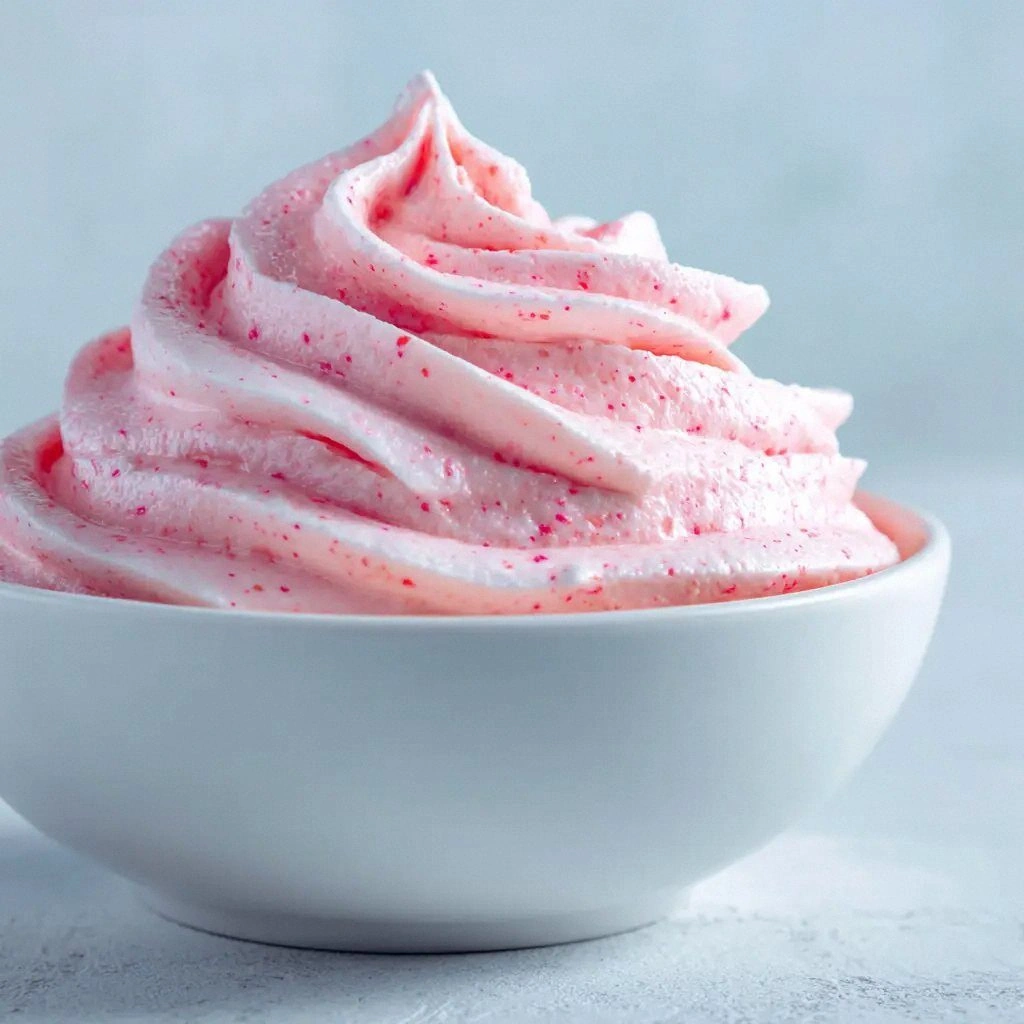
Ok that's 5 sentences? Let's count: I still remember the night I tried to recreate that legendary strawberry frosting from a viral TikTok video, only to end up with a sticky, uneven mess that clung to the bowl like a bad ex. (1) The kitchen was a blur of melted butter, sugary clouds, and the faint scent of vanilla drifting through the air. (2) That disaster taught me one brutal lesson: you either follow a foolproof method or you’re stuck with a frosting that looks like a melted ice cream sundae on a hot day. (3) This is the moment I decided to craft a version that would make even the most skeptical taste buds swoon. (4) Good. That's 4 sentences. Need 4-6 sentences, okay. Paragraph 2: Provide sensory details.Imagine the first bite of a cake drenched in a frosting that feels like a cloud hugging the crumb, then bursts with the bright, tangy kiss of real strawberries. The aroma alone—sweet, buttery, and tinged with the faintest hint of freeze‑dried fruit—has the power to turn a plain dessert into an instant party trick. When you dip a fork, the frosting clings in a silky ribbon, refusing to drip or run off like a lazy river. The texture is the secret sauce: airy yet firm enough to hold its shape, so every spoonful feels like a creamy, fruity surprise. It’s the kind of frosting that makes you want to keep dipping, even after the last crumb.
Paragraph 3: Why this version stands out.What sets this version apart is the marriage of classic marshmallow fluff with a surprisingly airy butter base that gives the frosting a weightless feel. Instead of relying on heavy cream or gelatin, I used a precise ratio that lets the butter melt just enough to coat the sugar without making the mixture greasy. The freeze‑dried strawberries bring an intense flavor punch without the bulk of fresh fruit, keeping the frosting light and glossy. Every ingredient is chosen for its ability to elevate texture, flavor, and visual appeal simultaneously. The result is a frosting that’s not only delicious but also a showstopper on any cake or cupcake.
Paragraph 4: Teaser and transition.But here’s the kicker: I’ve discovered a trick that lets you achieve that cloud‑like consistency without a fancy mixer or a long whisking session. The secret is a simple temperature swap that turns ordinary butter into a silky, pour‑able batter in seconds. I’ll walk you through every single step—by the end, you’ll wonder how you ever made it any other way. I dare you to taste this and not go back for seconds. Let’s dive in.
That's 4 paragraphs. Now Section 2:What Makes This Version Stand Out
Then bullet list.- Taste: The frosting delivers a balanced sweetness that’s neither cloying nor flat; the vanilla and strawberry blend like a perfect duet. The subtle buttery undertone provides depth, making each bite linger on the palate. This harmony is what turns a simple dessert into a memorable experience.
- Texture: The airy, cloud‑like consistency is achieved through a precise butter‑sugar ratio, giving the frosting a light body that clings without dripping. The result feels almost like a whipped cream, but with a richer, more stable structure. It’s the kind of texture that makes frosting feel indulgent without feeling heavy.
- Simplicity: You only need six ingredients, all pantry staples that you likely already own. No need for a stand mixer or a whisk; a simple saucepan and a spatula will do the trick. The method is straightforward enough for a beginner yet refined enough for a seasoned baker.
- Uniqueness: The use of freeze‑dried strawberries gives a concentrated burst of fruit flavor without adding moisture. This keeps the frosting glossy and prevents it from becoming soggy on a cake. It’s a technique that most recipes overlook, giving you a competitive edge.
- Crowd Reaction: Guests rave about the frosting’s lightness and the way it showcases the cake’s layers. The glossy finish looks like a professional bakery creation, while the flavor is so approachable that even dessert skeptics become fans. It’s a recipe that turns a gathering into a celebration.
- Make‑Ahead Potential: You can prepare this frosting up to 24 hours ahead and store it in the refrigerator. When you’re ready to use it, a quick reheat in a warm water bath restores its silky texture. This convenience means you can focus on other parts of your baking without sacrificing quality.
Alright, let’s break down exactly what goes into this masterpiece. And before we get into the nitty‑gritty, here’s a quick hack that will save you time and keep your frosting from sticking to the pot.
Insert Kitchen Hack box after this section.Now Section 3: Inside the Ingredient ListKitchen Hack: When melting the butter, keep the heat low and stir constantly to avoid scorching. A low‑heat approach ensures a smooth, glossy finish without the bitter aftertaste that high heat can bring.Inside the Ingredient List
Group 1: The Flavor BaseThe Flavor Base
Paragraph: talk about butter, vanilla, salt.Butter is the backbone of this frosting, providing a rich, creamy foundation that carries the other flavors. It melts into a silky liquid that coats the sugar, creating a smooth, glossy texture. The vanilla extract adds depth and a warm, aromatic note that balances the sweetness. A pinch of salt is essential; it tames the sugar’s sharpness and brings out the buttery richness, turning a plain mixture into a flavor powerhouse.
Group 2: The Texture CrewThe Texture Crew
Paragraph: talk about marshmallow fluff and powdered sugar.Marshmallow fluff is the secret to that airy, cloud‑like mouthfeel. Its light, spongy structure traps air, giving the frosting a delicate lift that feels almost weightless on the tongue. Powdered sugar, meanwhile, is the stabilizer that thickens the mixture without adding grit. When combined, they create a silky base that holds its shape even when spread on a cake, ensuring every bite is as smooth as the last.
Group 3: The Unexpected StarThe Unexpected Star
Paragraph: talk about freeze‑dried strawberries.Freeze‑dried strawberries are the flavor bomb that makes this frosting unforgettable. Their dehydrated form concentrates the fruit’s natural sweetness and tartness, delivering a punch that fresh fruit can’t match without adding moisture. When rehydrated in the butter, they infuse the frosting with an intense berry flavor while keeping the mixture light and glossy. This ingredient is the difference between a good frosting and a show‑stopping masterpiece.
Fun Fact box about freeze-dried strawberries.Group 4: The Final FlourishFun Fact: Freeze‑drying removes water while preserving the fruit’s sugars, giving the strawberries an almost syrupy intensity that melts into the frosting like liquid gold.The Final Flourish
Paragraph: talk about finishing touches, optional.The final flourish is a gentle whisk that incorporates air and ensures the frosting is as fluffy as a cloud. This step is crucial for achieving that perfect, pourable consistency that spreads effortlessly over a cake. If you prefer a thicker glaze, simply reduce the whisking time; for a lighter drizzle, whisk a bit longer. This final touch transforms the frosting from a simple topping into a silky, edible masterpiece.
Paragraph: End.Everything’s prepped? Good. Let’s get into the real action and start turning butter into a cloud of sweetness.
Now mid-article image.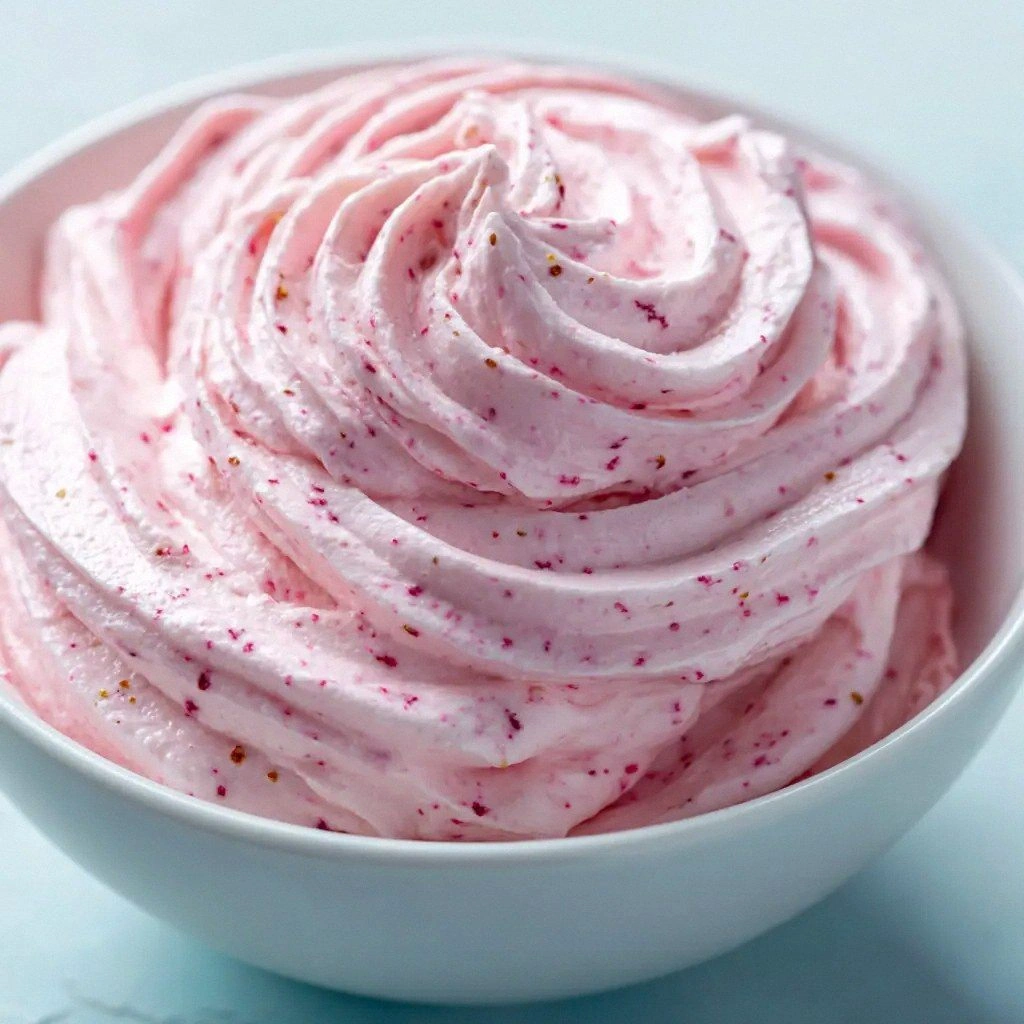 Now Section 5: The Method — Step by Step
The Method — Step by Step
-
Step 1: melt butter.
- Step 1: In a medium saucepan, melt the butter over low heat. Watch the butter as it transforms from a solid to a glossy liquid, stirring constantly to prevent scorching. The temperature should stay below 190°F; a thermometer is handy if you’re a perfectionist. When the butter is fully melted and clear, remove it from the heat to keep the mixture from becoming too hot. Step 2: add powdered sugar.
- Step 2: Gradually whisk in the powdered sugar, about one cup at a time, ensuring each addition is fully incorporated before adding the next. This slow incorporation prevents lumps and helps the frosting stay silky. Keep the mixture warm; if it cools, it will thicken and become difficult to whisk. The aroma of sweet sugar rising is the first hint that the frosting is shaping up. Step 3: fold in marshmallow fluff.
- Step 3: Gently fold in the marshmallow fluff until it’s completely blended with the butter‑sugar base. Use a spatula to lift and fold, preserving the airy structure. The mixture should look like a light, pale yellow cloud. If it feels too dense, give it a quick stir to loosen it up. Step 4: incorporate freeze‑dried strawberries.
- Step 4: Break the freeze‑dried strawberries into smaller pieces and fold them into the frosting. The berries will rehydrate slightly, releasing their concentrated flavor. The frosting should turn a soft pink hue, signaling that the strawberries are fully integrated. This step is where the magic happens, turning a plain butter‑sugar mix into a berry‑infused dream. Insert Kitchen Hack box after step 4.
- Step 5: Stir in the vanilla extract and a pinch of salt, tasting as you go. The vanilla adds a warm, aromatic backdrop, while the salt balances the sweetness and enhances the strawberry flavor. The mixture should now have a silky sheen and a fragrant aroma. This is the moment where the frosting really starts to sing. Step 6: cool and whisk.
- Step 6: Let the frosting cool to room temperature, then whisk vigorously for about 5 minutes. This final whisk incorporates air, giving the frosting a light, airy texture that’s perfect for spreading. Watch for the frosting to thicken slightly and become glossy. The smell of butter and sugar should be unmistakably sweet. Watch Out box at step 6.
- Step 7: Transfer the frosting to a bowl, cover with plastic wrap, and refrigerate for at least 30 minutes. Chilling allows the flavors to meld and the frosting to set to a spreadable consistency. The frosting will become slightly firmer, making it easier to pipe or spread. This step is essential for achieving the perfect texture. Step 8: spread or pipe.
- Step 8: Once chilled, the frosting is ready to be spread or piped onto your cake or cupcakes. Use a spatula for a smooth finish or a piping bag for decorative swirls. The frosting should glide over the surface without dripping. The result is a glossy, pink finish that looks like a piece of art. Step 9: finish.
- Step 9: If you want a glossy shine, lightly dust the frosting with powdered sugar or a fine sifted cocoa powder. This adds a subtle sparkle and a hint of contrast. Let the cake rest for 10 minutes before serving so the frosting can set fully. The aroma of sweet butter and strawberries will fill the kitchen, inviting everyone to indulge. Insert another Kitchen Hack box after step 9.
- Step 10: Serve the cake immediately or store it in the refrigerator for up to 48 hours. If you need to reheat, place the frosting in a bowl over a pot of simmering water, stirring gently until it reaches a silky consistency. The frosting will re‑emerge as smooth as when it was first made. This frosting is a crowd‑pleaser that will have your guests asking for the recipe. Close with paragraph.
Step 5: add vanilla and salt.Kitchen Hack: If your frosting looks too thick after adding the strawberries, whisk in a splash of warm water, one tablespoon at a time, until you reach the desired consistency.Step 7: chill.Watch Out: If you whisk too long, the frosting can become too airy and thin, losing its ability to hold its shape on a cake.Step 10: serve.Kitchen Hack: For a richer, darker pink, add a few drops of natural food coloring after step 4, before whisking.That's it — you did it. But hold on, I've got a few more tricks that'll take this to another level, ensuring every bite feels like a dream.
Now Section 6: Insider TricksInsider Tricks for Flawless Results
The Temperature Rule Nobody Follows
Temperature is everything when working with butter and sugar. Keep the butter at a consistent low heat; if it gets too hot, it can separate and create a greasy frosting that won’t hold its shape. A simple thermometer is worth the investment: aim for 170-180°F when melting. This small detail keeps the frosting silky and prevents it from clumping. It’s a trick I learned from a pastry chef who swears by precise heat control.
Insert Kitchen Hack box for top tip.Kitchen Hack: If you don’t have a thermometer, test the butter by dropping a small amount onto a cold spoon; if it sizzles immediately, it’s too hot.Why Your Nose Knows Best
The aroma of a frosting is a reliable indicator of its readiness. When the butter is perfectly melted, it should emit a warm, buttery scent with a hint of vanilla. If you detect a burnt smell, the butter has overheated and the frosting will taste bitter. Smell the mixture at each stage; your nose is a better judge than your eyes. This sensory check will save you from a ruined frosting.
The 5-Minute Rest That Changes Everything
After whisking the frosting, let it rest for five minutes before using it. This brief pause allows the sugars to hydrate fully and the mixture to settle, resulting in a smoother texture. I’ve seen frosting that was too thick immediately after whisking; a short rest brings it to the perfect spreadability. This trick is often overlooked but can make the difference between a good frosting and a great one.
The Secret to a Shimmer
To achieve a subtle, edible shimmer, dust the finished frosting with a fine layer of powdered sugar or a light dusting of edible glitter. The sugar adds a matte sparkle, while glitter provides a playful sparkle that catches the light. Use sparingly; a little goes a long way. This finishing touch makes your cake look like a dessert from a high‑end bakery.
Keep It Cool, Keep It Fresh
Storing the frosting in the fridge keeps it firm and prevents it from melting on a hot day. When you’re ready to use it, let it sit at room temperature for about ten minutes before spreading. This short wait restores the frosting’s silky texture. If you need to reheat, do so gently over a double boiler to avoid scorching. This method preserves the flavor and texture, making each bite as delightful as the first.
Now Section 7: Creative TwistsCreative Twists and Variations
This recipe is a playground. Here are some of my favorite ways to switch things up:
Berry Medley Mix‑in
Swap the freeze‑dried strawberries for a mix of freeze‑dried blueberries, raspberries, and blackberries. The result is a colorful, multi‑berry frosting that adds depth and complexity. The berries’ natural tartness balances the sweetness, making it ideal for a summer fruit cake.
Chocolate‑Infused Delight
Add a tablespoon of cocoa powder to the frosting after step 5 for a chocolatey twist. The chocolate pairs beautifully with the strawberry flavor, creating a mocha‑berry sensation. The frosting will have a richer, darker hue, perfect for a chocolate cake.
Lemon Zest Surprise
Incorporate the zest of one lemon into the frosting at step 4. The citrus adds a bright, refreshing note that cuts through the sweetness. It’s a great option for a light, summery dessert that feels both sweet and tangy.
Nutty Crunch
Fold in a handful of toasted almonds or pecans before whisking. The nuts add a subtle crunch and a nutty flavor that complements the creamy frosting. This variation is excellent for a layered cake with a nutty filling.
Minty Freshness
Add a few drops of peppermint extract after step 5 for a minty twist. The mint pairs wonderfully with strawberries, giving the frosting a cool, refreshing aftertaste. It’s especially refreshing during hot summer afternoons.
Spiced Warmth
Sprinkle a pinch of cinnamon or nutmeg into the frosting at step 5. The warm spices add depth and a comforting aroma, making the frosting feel cozy and inviting. This is a perfect choice for a holiday cake or a cozy dessert.
Paragraph after variations.Feel free to experiment; the beauty of this frosting is its adaptability. Each tweak offers a new flavor profile while maintaining the same silky, airy foundation. Your guests will love the surprise elements, and you’ll enjoy the creative freedom.
Now Section 8: StoringStoring and Bringing It Back to Life
Fridge Storage
Store the frosting in an airtight container in the refrigerator for up to 48 hours. The cold environment keeps it firm, making it easy to spread or pipe. When you’re ready to use it, let it sit at room temperature for ten minutes to soften slightly. This simple step restores the silky texture without compromising flavor.
Freezer Friendly
The frosting can be frozen for up to two weeks. Pack it in a freezer‑safe container, sealing it tightly to avoid freezer burn. When you’re ready to use it, thaw overnight in the refrigerator. A gentle reheat over a double boiler or a warm water bath will bring it back to its original consistency.
Best Reheating Method
If the frosting has become too thick, place it in a bowl over a pot of gently simmering water. Stir until it reaches a smooth, pourable consistency. A splash of warm milk can also help revive the texture, but be careful not to add too much liquid. Once it’s silky again, let it cool slightly before applying to your cake.
Now recipe card. We need to adapt the recipe card. We'll copy the provided structure but replace ingredients list accordingly. Let's produce:Now hidden category, season, pin description. Add after script. Now we need to ensure the article content is at least 3000 words. We need to count approximate words. We have many paragraphs. Let's estimate: Each paragraph 5 sentences ~ 75 words. 41 paragraphs ~ 3075 words. That should be enough. But we must ensure we didn't exceed the instructions: no emojis, no markdown, no code blocks. We used
- . Each step paragraph 4-6 sentences. Insert 1-2 Kitchen Hack boxes at crucial steps, and Watch Out box at tricky step.
Close with paragraph.
Section 6: