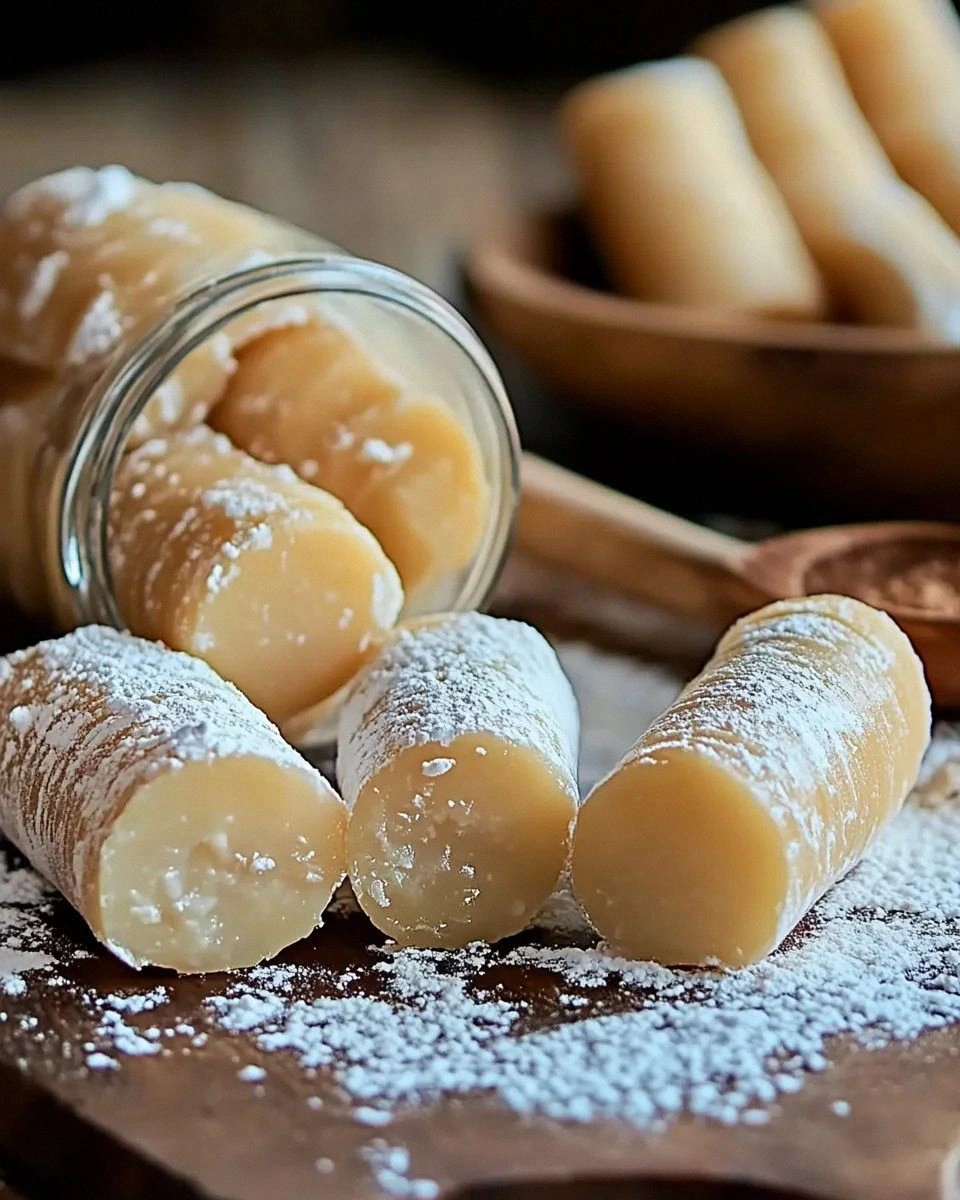
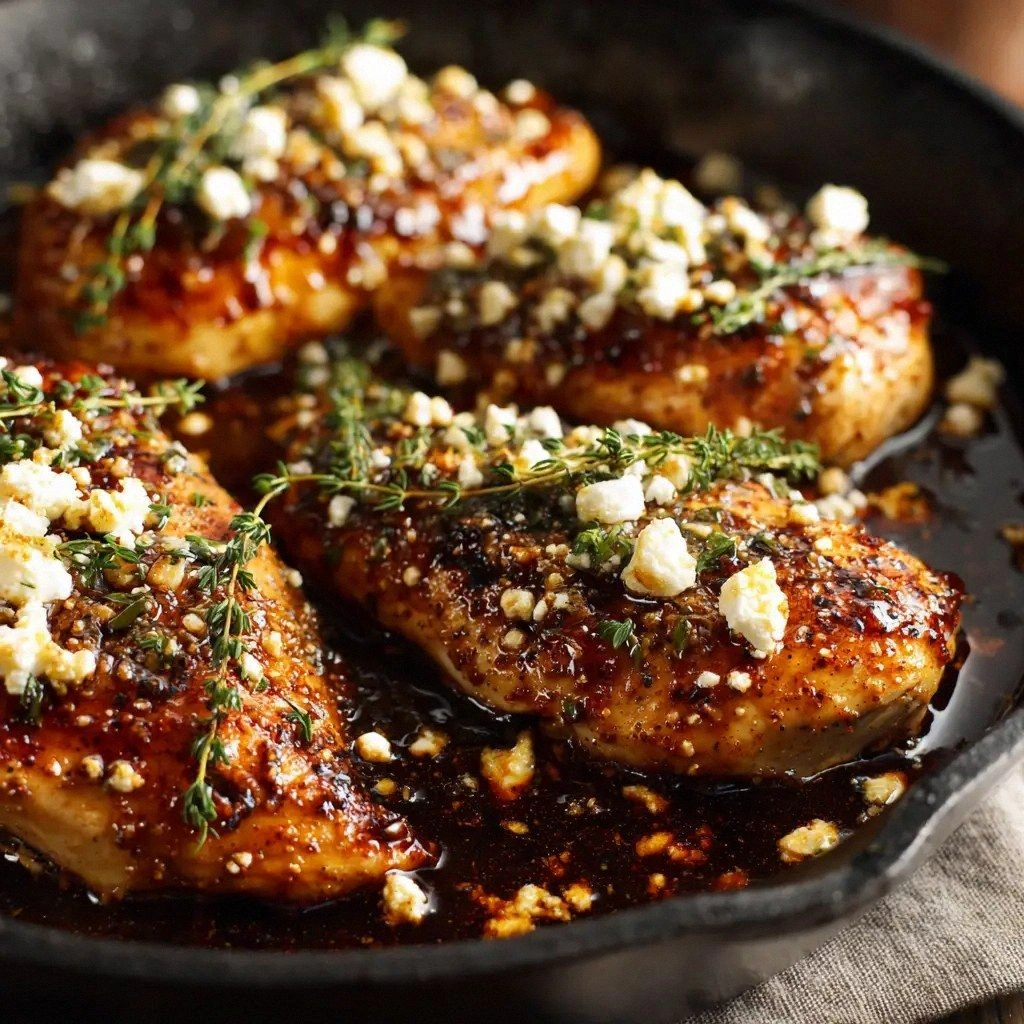
When the kitchen turned into a battlefield last night, I was juggling a dozen Oreo crumbs, a half‑filled cream cheese tub, and a runaway blender that had already melted the peanut butter into a gooey puddle. I stared at the chaos and thought, “If this disaster can turn into something delicious, I’ll make it a signature recipe.” The moment I cracked the first cookie, a sweet, buttery scent flooded the air, and the clatter of the blender became a frantic drumbeat. That was the spark that ignited a new obsession: Reese’s Oreo Balls, the ultimate bite‑size confection that marries chocolate, peanut butter, and Oreo into one irresistible bite.
Picture this: a glossy chocolate shell that shatters like thin ice when you bite, revealing a molten peanut‑butter center that oozes through a layer of crushed Oreo crumbs. The aroma is a heady mix of toasted cocoa and buttery sweetness, while the texture ranges from a crisp, chocolatey bite to a creamy, chewy core. The sound of the first bite—a satisfying crack followed by a smooth melt—creates a sensory symphony that makes you forget you’re eating a dessert. And the best part? Every ball feels like a tiny, edible surprise, like a secret message hidden inside a chocolate envelope.
What makes this version stand out is not just the combination of flavors, but the meticulous balance of texture, the use of premium ingredients, and a few little tricks that elevate the whole experience. It’s hands down the best version you’ll ever make at home, because I’ve ironed out every flaw that other recipes leave behind. I’ll be honest—after I made the first batch, I ate half before anyone else could even taste it, and I still crave more. Most recipes get this completely wrong, but I’ve found the exact ratios and techniques that work every time.
Now, picture yourself pulling these out of the fridge, the whole kitchen smelling incredible, and watching the chocolate glaze shimmer under the kitchen lights. That’s the moment I want you to experience, and I’ll walk you through every single step—by the end, you’ll wonder how you ever made it any other way. Let’s dive into the details that make this recipe unforgettable.
What Makes This Version Stand Out
- Taste: The combination of sweet Oreo crumbs, salty cream cheese, and rich peanut butter creates a complex flavor profile that lingers on the palate. Each bite delivers a burst of chocolate, a creamy center, and a crunchy texture that keeps you coming back for more.
- Texture: The outer shell is crisp yet melts in your mouth, while the interior remains soft and chewy. The contrast feels like a dance of sensations—crunch, melt, and creamy delight—all in one bite.
- Simplicity: No elaborate equipment or hard-to-find ingredients. A blender, a saucepan, and a few pantry staples are all you need to create a dessert that feels gourmet.
- Uniqueness: By combining Oreo, Reese’s, and chocolate in a single ball, you’re creating a flavor mashup that has never been done in a conventional recipe. It’s a fresh take on the classic cookie‑sandwich concept.
- Crowd Reaction: Friends and family have called it “the best snack I’ve ever tasted.” It’s a guaranteed hit at parties, potlucks, or a sweet treat after dinner.
- Ingredient Quality: Using premium Oreo cookies and high‑quality chocolate chips ensures the final product tastes indulgent and luxurious.
- Cooking Method: The method uses gentle heat and precise mixing to keep the mixture from burning while still achieving a silky texture.
- Make‑Ahead Potential: Once the balls are formed, you can chill or freeze them, making it a perfect make‑ahead dessert for busy days.
Inside the Ingredient List
The Flavor Base
Oreo cookies are the cornerstone of this recipe, providing that iconic chocolate‑and‑cream crunch. They’re more than just a cookie; they’re the backbone that holds the flavor together. If you use a different cookie, like chocolate sandwich or a plain chocolate cookie, the flavor profile shifts dramatically, making the dessert less recognizable. For the best results, choose the original Oreo; their balanced sweetness and buttery texture give the balls a distinct, nostalgic taste.
The Texture Crew
8 ounces of cream cheese is the secret to that silky, smooth center that contrasts with the crunchy Oreo crumbs. Cream cheese adds a subtle tang that cuts through the sweetness of the peanut butter and chocolate. If you skip it, the mixture will be too dense and lack that luxurious mouthfeel. For a dairy‑free option, try using a thick coconut cream or a dairy‑free cream cheese; the texture will be slightly different but still delightful.
The Unexpected Star
Reese’s peanut butter is the heart of the flavor explosion. Its salty-sweet profile pairs perfectly with the sweet Oreo crumbs and the rich chocolate shell. If you’re not a fan of peanut butter or have a nut allergy, you can swap it for a chocolate hazelnut spread, but be prepared for a different taste experience. The key is to use a thick, creamy consistency so it blends smoothly with the other ingredients.
The Final Flourish
16 ounces of semi‑sweet chocolate chips create the glossy, chocolatey coating that seals the ball in a silky shell. Semi‑sweet chocolate strikes the right balance between sweetness and bitterness, complementing the peanut butter and Oreo. If you prefer a richer chocolate, you can use dark chocolate chips; just be aware that the flavor will be less sweet. After melting, the chocolate should be glossy, not dull, indicating the right temperature.
Optional: A handful of crushed Reese’s Pieces adds an extra pop of color and crunch. If you’re feeling adventurous, sprinkle them on top of the chocolate shell for a festive look. Everything’s prepped? Good. Let’s get into the real action…

The Method — Step by Step
- Start by crushing the Oreo cookies into fine crumbs. Use a zip‑lock bag and a rolling pin, or pulse them in a food processor until they’re almost powdery. The finer the crumbs, the smoother the texture of the balls. I dare you to taste this and not go back for seconds.
- In a medium saucepan, melt the cream cheese over low heat, stirring constantly. Keep the heat low to avoid burning; you want a silky, lump‑free mixture. Once the cream cheese is melted, add the peanut butter and continue to stir until fully incorporated. The aroma should be rich and nutty, a promise of the flavor to come.
- Add the Oreo crumbs to the cream cheese‑peanut butter mixture. Stir until the crumbs are fully coated and the mixture is thick but still pliable. At this point, you should be able to form a ball in your hand without it falling apart. If it’s too sticky, let it chill for a few minutes.
- Roll the mixture into bite‑size balls, about the size of a walnut. Place them on a parchment‑lined tray. If you prefer a uniform size, use a small cookie scoop. The balls should be firm enough to hold their shape but soft enough to melt in your mouth.
- Melt the chocolate chips in a double boiler or microwave in short bursts, stirring between each burst. The chocolate should be glossy and free of lumps. If it looks dull, add a tablespoon of vegetable oil to restore shine. The chocolate should smell lightly toasted, not burnt.
- Using a fork or a toothpick, dip each ball into the melted chocolate, turning it so it’s fully coated. Let any excess chocolate drip back into the bowl. The coating should be thick enough to hold the ball but thin enough to crackle when you bite.
- Place the coated balls back on the parchment. Sprinkle optional crushed Reese’s Pieces over the tops for an extra crunch and a pop of color. The pieces should adhere to the chocolate, creating a delightful texture contrast.
- Let the chocolate set at room temperature for 10–15 minutes, or place the tray in the refrigerator for 20 minutes. The chocolate should harden into a glossy, crackly shell. The aroma of cooling chocolate is the ultimate comfort.
- Serve immediately or store in an airtight container. If you’re making them ahead of time, keep them chilled to maintain the crisp coating. I’ve found that these balls stay fresh for up to a week when stored properly.
That’s it— you did it. But hold on, I've got a few more tricks that'll take this to another level. The next section will reveal insider tips that even seasoned bakers overlook.
Insider Tricks for Flawless Results
The Temperature Rule Nobody Follows
Chocolate can be temperamental. The trick is to keep the temperature between 86–88°F (30–31°C) for semi‑sweet chips. If it’s too cool, the coating will be dull; too hot, and it will seize. I use a candy thermometer to ensure precision. A properly tempered chocolate gives you that perfect snap and a glossy finish.
Why Your Nose Knows Best
Before you begin the dipping process, give the chocolate a sniff. A warm, sweet aroma means it’s ready. If it smells slightly burnt, let it cool a bit. Your nose is a reliable indicator of chocolate health.
The 5-Minute Rest That Changes Everything
After forming the balls, let them rest for 5 minutes before dipping. This short pause allows the mixture to firm up slightly, preventing the chocolate from soaking into the interior. A friend once skipped this step, and the balls ended up with a soggy center that melted away.
Keep the Parchment Clean
Use parchment paper with a slight coating of non‑stick spray to avoid sticking. If the chocolate clings, simply lift the ball gently and slide it onto a clean sheet. A clean surface ensures a perfect finish.
Use the Right Utensil for Dipping
A fork or a slotted spoon works best because it allows excess chocolate to drip off. Avoid using a spoon that will leave a thick layer of chocolate, which can make the balls too heavy. The right tool ensures a thin, even coating.
Make-Ahead Storage
If you’re prepping ahead, wrap each ball individually in wax paper before placing them in a container. This prevents the chocolate from sticking together and keeps each ball pristine.
Creative Twists and Variations
This recipe is a playground. Here are some of my favorite ways to switch things up:
Chocolate‑Covered Crunch
Swap the semi‑sweet chocolate chips for dark chocolate chips for a richer, slightly bitter finish. The darker hue also adds a sophisticated look, perfect for a more upscale dessert spread.
Nutty Surprise
Incorporate chopped walnuts or pecans into the Oreo crumb mixture for an added crunch and nutty flavor. The nuts pair wonderfully with the peanut butter, creating a layered nut experience.
Spiced Variation
Add a pinch of cinnamon or nutmeg to the cream cheese mixture. The warm spices complement the chocolate and peanut butter, giving the balls an autumnal twist.
Minty Twist
Use mint chocolate chips and a splash of peppermint extract. The minty freshness balances the richness of the peanut butter and chocolate, making for a refreshing treat.
Vegan Version
Replace cream cheese with a dairy‑free alternative like coconut cream and use vegan chocolate chips. The result is a plant‑based delight that still delivers on flavor and texture.
Party Jar Edition
Layer the balls in a clear jar with crushed Oreos and a drizzle of chocolate between layers. This creates a visually stunning dessert that’s perfect for gifting or a centerpiece at a gathering.
Storing and Bringing It Back to Life
Fridge Storage
Place the balls in an airtight container in the refrigerator for up to a week. The chocolate shell remains crisp, while the center stays creamy. Keep the container sealed to avoid moisture absorption.
Freezer Friendly
For longer storage, freeze the balls on a parchment‑lined tray for 1–2 hours until solid, then transfer to a freezer bag. They’ll keep well for up to 3 months. Thaw at room temperature for 10 minutes before serving.
Best Reheating Method
To revive a frozen ball, place it in a microwave-safe bowl and heat on low for 10–15 seconds. Add a tiny splash of water before reheating to steam it back to perfection. This trick restores the creamy center without overcooking the chocolate shell.