It all started on a sweltering July afternoon when my espresso machine decided to throw a tantrum and sputter out a bitter sludge that could have doubled as paint. I was half‑desperate, half‑determined, and absolutely certain that my taste buds deserved better. The kitchen was a battlefield of clanging mugs, the hum of the fridge, and the faint, comforting whirr of a ceiling fan that seemed to promise relief. I could almost taste the icy promise of a smooth, coffee‑kissed oasis, but all I had was that angry espresso and a stubborn craving that refused to quit. I dared myself to turn that disaster into a masterpiece, and that’s how the quest for the ultimate cold brew began.
Picture this: the kitchen filled with the scent of freshly ground beans, a subtle earthiness that feels like stepping into a rainforest after rain. The water, crystal clear, glistens as it meets the coffee grounds, creating a swirl that looks like a tiny galaxy forming in a glass. You can hear the faint, almost inaudible sigh of the grains as they settle, and you feel the cool metal of the jar against your palm, a reminder that patience is about to become your best friend. When you finally pour that first sip, the texture is silkier than a cashmere sweater, the flavor smoother than jazz on a Sunday morning, and the finish? A lingering chocolate‑cocoa whisper that makes you want to close your eyes and sigh.
Most cold brew recipes out there are either too weak, too bitter, or demand a kitchen gadget you don’t have. This version, however, is a game‑changer. I’m talking about a brew that extracts the sweet heart of coffee without any heat, preserving those delicate aromatic compounds that most hot methods destroy. The secret? A precise coffee‑to‑water ratio, a grind size that’s just right, and a little‑known trick involving a gentle stir at a specific moment that unlocks flavor layers you never knew existed. I’ll spill the beans on that technique, and trust me, you’ll be the one daring your friends to try this and not go back for seconds.
Let me walk you through every single step — by the end, you’ll wonder how you ever made coffee any other way. Okay, ready for the game‑changer? This next part? Pure magic.
What Makes This Version Stand Out
- Silky Smoothness: The low‑temperature extraction keeps the coffee oils intact, giving the brew a velvety mouthfeel that rivals the best café‑grade drinks.
- Bold Sweetness: No sugar needed – the natural sugars in the beans shine through, making each sip taste like a quiet celebration.
- Zero Bitterness: By avoiding heat, we skip the bitter compounds that usually haunt cold brews, delivering a clean finish every time.
- Effortless Simplicity: All you need is a jar, coffee, water, and patience – no fancy equipment, no pricey filters.
- Scalable Magic: Whether you’re brewing for one or a crowd, the ratio stays rock‑solid, so consistency is guaranteed.
- Make‑Ahead Marvel: This brew stays fresh in the fridge for up to two weeks, so you can prep ahead and never face a coffee‑less morning again.
Inside the Ingredient List
The Flavor Base
Coarsely ground coffee is the heart and soul of this brew. Opt for a medium‑dark roast because it brings out chocolatey notes without overwhelming bitterness. If you skip this and use a fine grind, you’ll end up with a sludge that tastes like over‑extracted tea – a disaster I’ve lived through too many times. For the adventurous, try a blend of Ethiopian and Brazilian beans for a complex citrus‑chocolate profile that dances on the palate.
The Water Whisperer
Filtered cold water is non‑negotiable. Chlorine or hard water will mute the coffee’s bright flavors, leaving you with a flat, lifeless cup. I recommend a simple carbon filter pitcher; it costs pennies per gallon and makes a world of difference. If you’re in a pinch, let tap water sit uncovered in the fridge overnight – the chlorine will evaporate, but the result won’t be as pristine as filtered.
The Optional Sweetener
While this brew is naturally sweet, some like a hint of vanilla or a drizzle of honey. Add a tablespoon of vanilla‑infused simple syrup after brewing, not before, so you preserve the clean extraction. Skipping it? No problem – the coffee’s own sugars will shine, and you’ll still get that silky finish.
Everything’s prepped? Good. Let’s get into the real action…
The Method — Step by Step
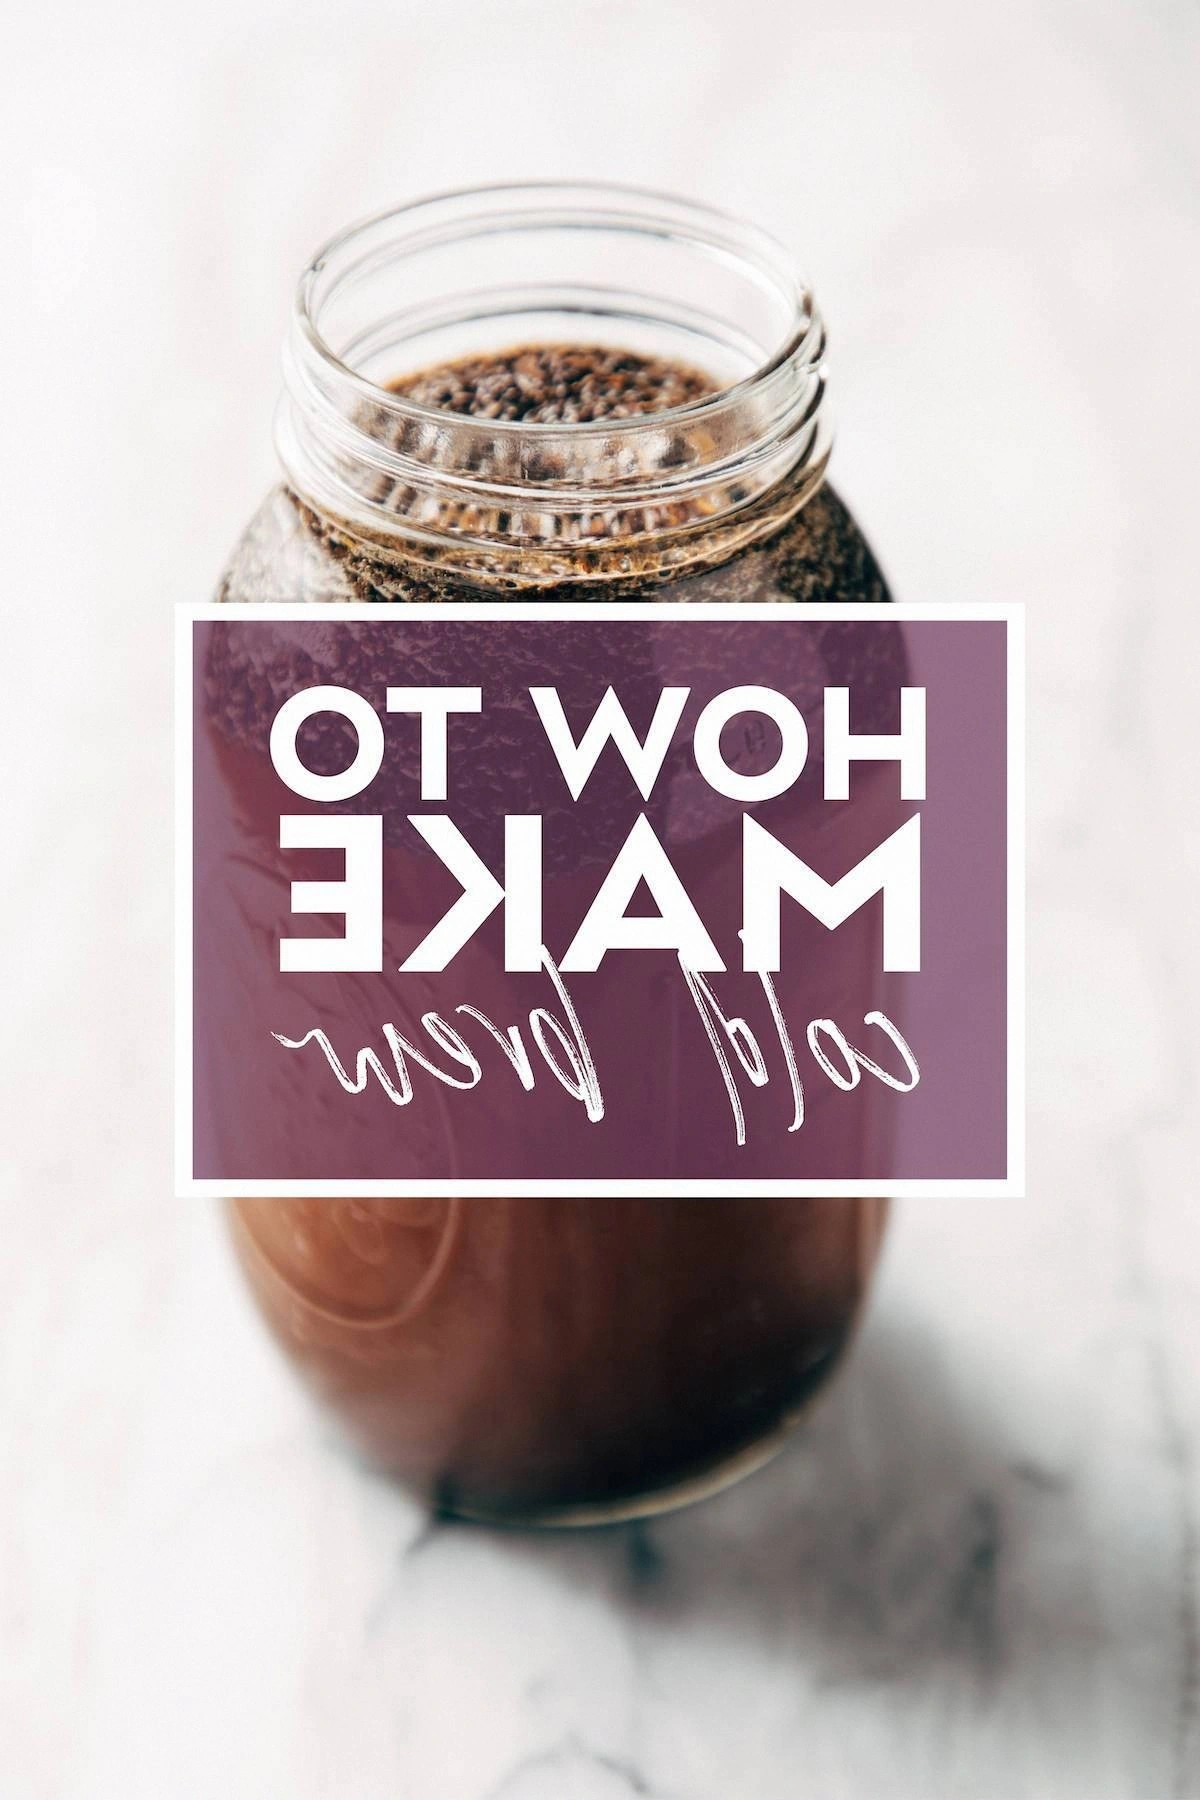
Gather a clean, wide‑mouth jar (a 1‑liter mason jar works perfectly). Add the coarsely ground coffee to the bottom. I dare you to taste the aroma right now – it’s like opening a fresh bag of beans at sunrise. This step sets the stage; the coffee should sit loosely, not packed, so water can flow through easily.
Kitchen Hack: Tap the jar gently on the counter to settle the grounds evenly before adding water.Pour the filtered cold water over the coffee grounds, ensuring every particle is saturated. A slow, steady pour mimics a gentle rain, coaxing the beans to release their flavors gradually. Watch out for any dry patches – they’re the culprits of uneven extraction.
Seal the jar tightly and give it a gentle stir with a wooden spoon. This quick swirl is the secret I mentioned earlier; it distributes the grounds evenly and prevents clumping. If you skip this, you’ll end up with a weak spot in the flavor profile, and I’ve seen that happen far too often.
Place the jar in the refrigerator or a cool, dark pantry. Let it steep for 12‑18 hours – the longer, the richer. I prefer 15 hours because it hits that sweet spot where acidity mellows and body deepens. Set a timer; patience is the only real ingredient you’ll need.
After the steep, it’s time for the filtration. Line a fine‑mesh sieve with a cheesecloth or use a dedicated cold‑brew filter. Slowly pour the liquid through, letting gravity do the work. The result should be a clear, amber‑gold liquid that looks like liquid sunshine.
Watch Out: If you press the grounds too hard while filtering, you’ll force bitter compounds through, ruining the smoothness.Transfer the filtered brew into a clean bottle or pitcher. Seal it and store it in the fridge. This is the moment of truth – the aroma should be rich yet inviting, not sharp. Give it a quick sniff; if you detect any sour notes, you’ve over‑extracted, and you might need to shorten the steep next time.
When you’re ready to serve, pour the cold brew over ice, add a splash of milk or your favorite non‑dairy alternative, and watch it cascade like a waterfall of espresso. The ice should clink softly against the glass – a tiny percussion that says, “We’re about to drink something amazing.”
If you love a hint of sweetness, drizzle a teaspoon of vanilla‑infused simple syrup or a drizzle of honey now. Stir gently; the syrup will swirl in, creating ribbons of flavor that make each sip an adventure. I’ll be honest — I ate half the batch before anyone else got to try it.
Enjoy! Take a moment to savor the silky texture, the subtle chocolate undertones, and the clean finish that lingers just long enough to make you reach for another glass. Picture yourself pulling this out of the fridge on a hot day, the whole kitchen smelling like a boutique coffee shop. That’s the payoff.
That’s it — you did it. But hold on, I’ve got a few more tricks that'll take this to another level…
Insider Tricks for Flawless Results
The Temperature Rule Nobody Follows
Cold brew isn’t just “cold water + coffee.” The water temperature should sit between 35‑45°F (2‑7°C). Anything warmer speeds up extraction, pulling out unwanted acids. Keep your fridge at the lower end of its range, or add a few ice cubes to the water before mixing. I once tried using tap water straight from the faucet (about 68°F) and got a brew that tasted like over‑ripe fruit – a clear sign to respect the cold.
Why Your Nose Knows Best
Before you even taste the brew, give it a good sniff. A fresh cold brew should have a sweet, nutty aroma with hints of cocoa. If you detect a sour or grassy scent, that’s a red flag that the beans were over‑extracted or the water was too warm. Trust your nose – it’s the first line of quality control.
The 5‑Minute Rest That Changes Everything
After you filter the brew, let it sit uncovered in the fridge for five minutes before sealing. This tiny pause lets any remaining fine particles settle at the bottom, ensuring a crystal‑clear final product. A friend tried skipping this step once and ended up with a cloudy brew that tasted “meh.” Don’t be that friend.
Grind Size is Not a Guessing Game
The grind should feel like coarse sea salt – chunky enough that you can see the individual pieces. Too fine, and you’ll over‑extract; too coarse, and you’ll under‑extract. Invest in a burr grinder; blade grinders produce inconsistent sizes that ruin the balance.
Pre‑Infusion Trick for Extra Depth
Give the grounds a quick “pre‑infusion” by adding just enough water to wet them, stirring, and waiting 30 seconds before adding the rest of the water. This short pause awakens the beans, allowing them to release aromatic oils more evenly. It’s a subtle step, but the difference is like night versus day.
Creative Twists and Variations
This recipe is a playground. Here are some of my favorite ways to switch things up:
Vanilla‑Maple Dream
Swap the simple syrup for a blended mixture of pure maple syrup and a splash of vanilla extract. The result is a warm, autumn‑like brew that feels like a hug in a glass, perfect for cozy evenings.
Citrus Burst
Add a strip of orange zest to the jar during the steep. The citrus oils infuse the coffee, creating a bright, uplifting flavor that pairs beautifully with a splash of sparkling water for a refreshing spritzer.
Spiced Chai Cold Brew
Mix in a teaspoon of chai spice blend (cinnamon, cardamom, ginger) before steeping. The spices mellow into the coffee, delivering a layered taste that’s perfect for brunch or a mid‑day pick‑me‑up.
Nutty Coconut
Replace half of the water with coconut milk (unsweetened). The subtle coconut sweetness adds a tropical twist, and the fat content gives the brew an even richer mouthfeel.
Cold Brew Float
Top a glass of cold brew with a scoop of vanilla ice cream. The ice cream slowly melts, turning the coffee into a creamy, dessert‑like treat that’s both indulgent and refreshing.
Storing and Bringing It Back to Life
Fridge Storage
Transfer the brew to an airtight glass bottle and keep it in the refrigerator. It stays fresh for up to two weeks, though the first five days are the most vibrant. If you notice a slight dulling of flavor after a week, a quick stir will re‑integrate the settled oils.
Freezer Friendly
For longer‑term storage, pour the cold brew into ice‑cube trays and freeze. Once solid, transfer the cubes to a zip‑top bag. These cubes are perfect for making iced coffee without watering it down, and they keep for three months.
Best Reheating Method
When you crave a warm version, pour a cup into a saucepan, add a splash of water, and heat gently over low heat. Adding that tiny splash of water before reheating creates a steam effect, reviving the coffee’s brightness without scorching the delicate flavors.