I was halfway through a midnight snack run, scrolling through recipe blogs and feeling the familiar pang of culinary boredom. The fridge was a barren wasteland—no fresh produce, no leftover rice, just a handful of pantry staples. That’s when the idea hit me like a sudden thunderclap: what if I could turn those humble ingredients into a dessert that feels like a sweet, comforting hug? I stared at the empty space on the counter and thought, “Let’s make something that whispers nostalgia and shouts flavor.”
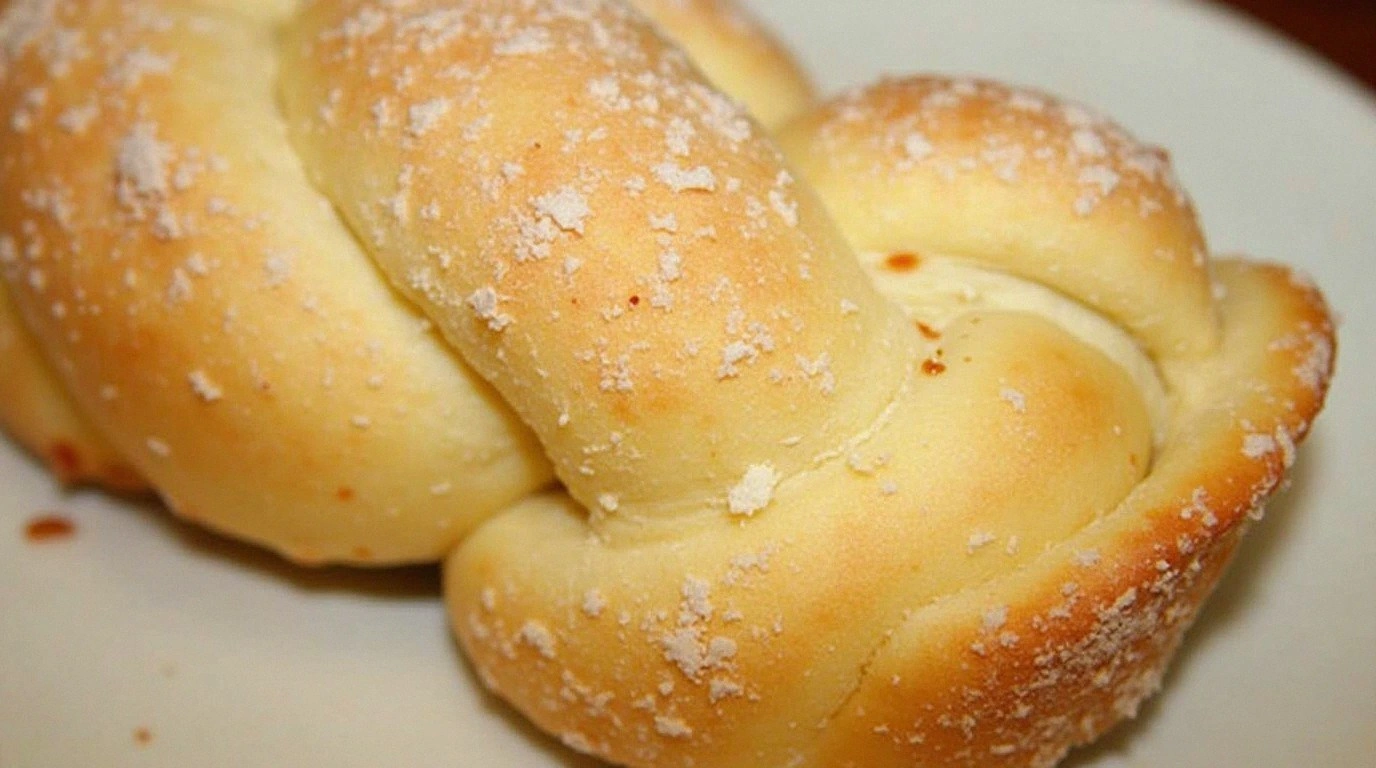
The first bite of Filipino Bicho-Bicho is a sensory revelation. The cake’s golden edges crackle like toasted sugar, while the interior melts into a velvety coconut‑infused hug. The aroma—sweet, creamy, with a faint hint of pandan—fills the kitchen, making you feel like you’ve stepped into a bustling street market at dusk. The texture is a delicate dance between chewy rice flour and airy batter, and the finish is a glossy sheen that glistens under the kitchen lights. Every element, from the first crackle to the last lingering aftertaste, feels like a well‑orchestrated symphony.
What makes this version stand out is not just the recipe itself but the meticulous balance of ingredients and techniques. I’ve refined the batter to achieve that perfect “tooth‑to‑mouth” softness while keeping the edges crisp. The secret lies in a subtle blend of glutinous rice flour and all‑purpose flour, a touch of baking powder for lift, and a generous splash of coconut milk that coats each bite like velvet. I’ve also added a hint of vanilla and a touch of pandan, creating a flavor profile that feels both familiar and adventurous. I dare you to taste this and not go back for seconds—once you try it, you’ll know why.
Picture yourself pulling this out of the oven, the whole kitchen smelling incredible, the steam curling like a fragrant cloud. The moment you break the first piece, a burst of sweetness and coconut hits your palate, and you realize you’ve just discovered the ultimate version of a classic Filipino treat. Let me walk you through every single step—by the end, you’ll wonder how you ever made it any other way.
What Makes This Version Stand Out
- Flavor: The combination of coconut milk, vanilla, and pandan creates a layered sweetness that feels both comforting and exotic.
- Texture: The batter balances chewy rice flour with airy flour, producing a cake that is tender inside yet crisp on the outside.
- Visual Appeal: The golden crust and glossy finish make each bite a feast for the eyes as well as the taste buds.
- Simplicity: With just a handful of pantry staples, you can whip up a show‑stopper without a trip to the grocery store.
- Make‑ahead: The batter holds up well for up to 48 hours, making it perfect for busy evenings.
- Versatility: Add grated coconut, ube, or chocolate chips for a personalized twist.
- Crowd‑pleaser: Whether it’s a family dinner or a potluck, these bite‑sized delights always get the applause.
- Health‑Friendly: By using coconut milk instead of heavy cream, you reduce saturated fat while still getting that rich flavor.
Alright, let's break down exactly what goes into this masterpiece…
Inside the Ingredient List
The Flavor Base
At the heart of Bicho-Bicho lies a sweet, coconut‑infused batter that feels like a hug in every bite. The glutinous rice flour gives the cakes their signature chew, while the all‑purpose flour adds lift and structure. The baking powder is the secret agent that makes the batter rise just enough to keep the interior tender. If you skip the baking powder, the cakes will be dense and flat, losing that delightful contrast between soft center and crispy crust.
The coconut milk is the liquid backbone; it carries the flavor and keeps the batter moist. Use full‑fat coconut milk for a richer taste, but if you’re watching calories, coconut milk light will still deliver the creamy texture without the extra fat. A splash of vanilla extract deepens the sweetness and adds a subtle warmth that balances the tropical notes.
The Texture Crew
The eggs bind everything together, creating a cohesive batter that holds its shape during baking. They also add a slight richness that makes the cakes feel more indulgent. The melted butter provides a silky mouthfeel and helps the batter spread evenly, preventing clumps. If you’re vegan, substitute the butter with coconut oil; it will still give that luscious finish.
Grated coconut (optional) adds a chewy texture and an extra layer of coconut flavor. It also creates a beautiful visual contrast against the golden crust. For a crunchy twist, sprinkle toasted coconut on top before baking.
The Unexpected Star
Pandan leaves (or pandan essence) are the unsung hero of many Filipino desserts. Their green aroma infuses the batter with a subtle floral note that feels like a breath of tropical breeze. If you can’t find pandan, a few drops of green food coloring will mimic the color, but the aroma will be missing—so try to source real leaves for authenticity.
Another optional ingredient is ube (purple yam) puree. Adding ube gives the cakes a striking color and a sweet, earthy flavor that pairs wonderfully with coconut. It’s a fun way to create a visually stunning version that’s sure to impress.
The Final Flourish
Salt is the unsung flavor enhancer that balances the sweetness. A pinch of salt brings out the depth of the coconut and the richness of the eggs. Baking soda is sometimes used in other rice‑based desserts to help with browning, but it’s not necessary here. If you want a slightly caramelized finish, brush the tops with a light glaze of melted butter before baking.
Everything’s prepped? Good. Let’s get into the real action…
The Method — Step by Step
- Prep the Baking Pan: Line a 9x9 inch pan with parchment paper, leaving a small overhang on the sides for easy removal. Preheat your oven to 180°C (350°F). This step ensures that the cakes don’t stick and that the edges crisp evenly.
- Whisk the Dry Ingredients: In a large bowl, sift together the glutinous rice flour, all‑purpose flour, baking powder, and salt. The sifting removes lumps and ensures an even distribution of leavening agents.
- Blend the Wet Components: In a separate bowl, whisk the eggs, coconut milk, melted butter, vanilla extract, and pandan essence (or pandan leaves if using). The wet mixture should be smooth; any lumps will affect the batter’s texture.
- Combine and Mix: Pour the wet mixture into the dry ingredients, stirring gently until just combined. Over‑mixing can cause the batter to become tough, so stop as soon as the flour is absorbed.
- Transfer to Pan: Spoon the batter into the prepared pan, filling it about 3/4 full. Tap the pan gently on the counter to release any air pockets. This helps the cake rise evenly.
- Bake: Place the pan in the oven and bake for 25–30 minutes. The top should be a golden brown, and a toothpick inserted into the center should come out clean.
- Cool: Remove the cake from the oven and let it cool in the pan for 10 minutes. Then, using the parchment overhang, lift the cake onto a wire rack to cool completely. This step prevents steam from making the bottom soggy.
- Slice and Serve: Once cooled, cut the cake into bite‑sized squares using a sharp knife. If you want a glossy finish, brush each piece with a light glaze of melted butter.
- Enjoy: Serve at room temperature or slightly chilled. The cakes are best enjoyed within 24 hours, but you can store them for a couple of days in an airtight container.
That’s it — you did it. But hold on, I've got a few more tricks that'll take this to another level...
Insider Tricks for Flawless Results
The Temperature Rule Nobody Follows
Many bakers bake at a higher temperature to get a crisp crust, but this can cause the interior to undercook. My trick is to bake at 180°C (350°F) and use a lower oven rack so the heat is evenly distributed. This ensures a golden top without a dry center.
Why Your Nose Knows Best
If you’re unsure whether the cakes are done, trust your nose. The aroma should be sweet and slightly nutty, with a hint of coconut. A lingering raw batter smell means you need a few more minutes.
The 5‑Minute Rest That Changes Everything
After removing the cake from the oven, let it rest for exactly five minutes before cutting. This brief pause allows the steam to redistribute, resulting in a more cohesive crumb that doesn’t crumble when sliced.
Avoiding the “Too Sticky” Problem
If the batter seems too sticky, add a tablespoon of all‑purpose flour and mix gently. Over‑adding flour will make the cakes dense, so add just enough to reach the desired consistency.
Using a Silicone Mat for Extra Crispness
A silicone baking mat creates a non‑stick surface that allows the cakes to develop a crisp base without sticking. It also makes cleanup a breeze, which is a win for any busy cook.
Creative Twists and Variations
This recipe is a playground. Here are some of my favorite ways to switch things up:
Chocolate Chip Bicho-Bicho
Fold in a handful of semi‑sweet chocolate chips into the batter before baking. The chocolate melts into pockets of gooey sweetness that contrast beautifully with the coconut base.
Ube Delight
Add 1/2 cup of ube puree to the wet mixture and replace half of the coconut milk with water. The result is a vibrant purple cake with a subtle yam flavor that pairs perfectly with the coconut.
Tropical Pineapple
Mix in 1/2 cup of finely diced fresh pineapple and a splash of lime zest. The tropical fruit adds a bright, zesty kick that refreshes the palate.
Savory Spinach Bicho-Bicho
For a savory twist, replace sugar with 1 tablespoon of soy sauce and add finely chopped spinach. This version is a great accompaniment to grilled meats or as a snack for lunch.
Coconut‑Rice Flour Variation
Swap out all‑purpose flour for an equal amount of toasted coconut flour. The cakes become slightly denser and gain a toasted coconut flavor that complements the milk.
Lemon‑Ginger Zest
Add 1 teaspoon of grated ginger and zest of one lemon to the batter. This gives the cakes a bright, spicy undertone that cuts through the sweetness.
Storing and Bringing It Back to Life
Fridge Storage
Place the cooled cakes in an airtight container and refrigerate for up to 48 hours. The texture remains firm, and the coconut flavor intensifies. Before serving, let them sit at room temperature for 15 minutes to soften slightly.
Freezer Friendly
Wrap individual pieces in parchment paper and place them in a freezer bag. They stay fresh for up to 2 weeks. To thaw, leave at room temperature for 30 minutes or microwave on low for 20–30 seconds.
Best Reheating Method
Reheat in a preheated oven at 160°C (320°F) for 5–7 minutes. Add a tiny splash of water before reheating; the steam will restore the cake’s moist interior and keep the edges from drying out.