Picture this: I’m in a cramped kitchen, the fridge is a barren wasteland, and the only thing that can save the day is a sandwich that feels like a hug. The first bite of my last grilled cheese was a sad, dry affair that left me wondering if I’d ever recover from the disappointment. Then, a friend dared me to turn a humble black bean mixture into a molten, cheesy masterpiece. I took that dare, and what followed was a culinary revelation that has now become my go‑to comfort food.
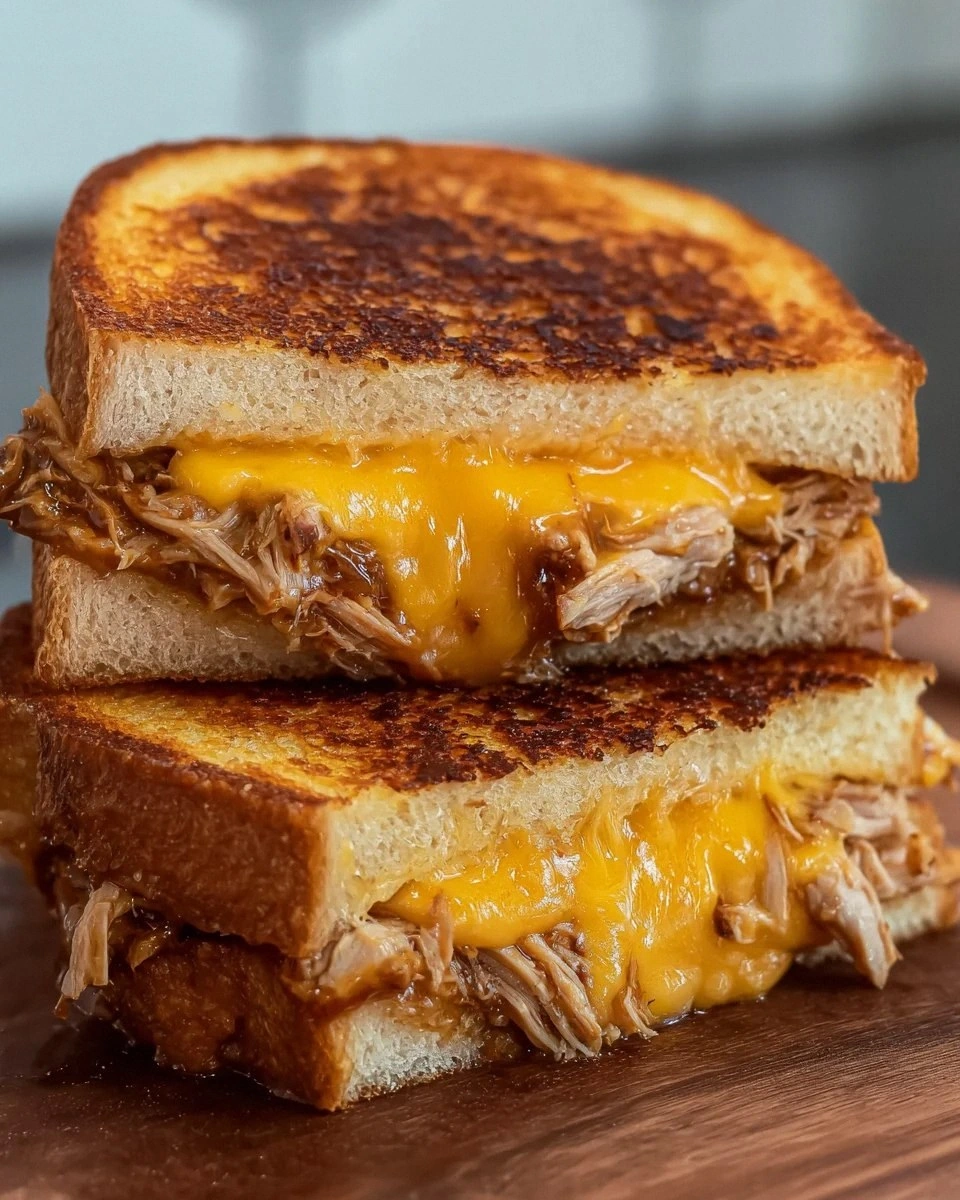
The moment the skillet sizzled, a warm, buttery aroma began to dance through the air, mingling with the earthy scent of cumin and garlic powder. My eyes widened as I watched the black bean spread glisten under a blanket of shredded cheese, each bite promising a creamy, protein‑rich punch that defied the usual blandness of a grilled cheese. The texture was a revelation—soft, slightly chunky beans hugging the bread, the cheese melting into a silky ribbon that clung to the crust. The sound of the sandwich turning, the golden crust cracking like thin ice, was music to my ears. I was hooked before I even tasted it.
What makes this version stand out is not just the creamy beans or the gooey cheese; it’s the way every element is orchestrated to create a symphony of flavors that lingers on the palate. I swear, if you taste this and think you’re done, I dare you to taste it again—there’s a second layer of flavor waiting to be discovered. Most grilled cheese recipes get this completely wrong, but here, the balance of spice, crunch, and richness is spot on. Picture yourself pulling this out of the skillet, the whole kitchen smelling incredible, and the sandwich’s golden edges shining like a sunrise. And if you’ve ever struggled with a bland grilled cheese, you’re not alone—this recipe is the fix you’ve been searching for.
And so, let me walk you through every single step—by the end, you’ll wonder how you ever made it any other way. I’ve broken this down into bite‑size, no‑fuss steps that even a novice can follow. Along the way, I’ll sprinkle in some kitchen hacks, fun facts, and watch‑out warnings to keep you from common pitfalls. Ready? Let’s dive in.
What Makes This Version Stand Out
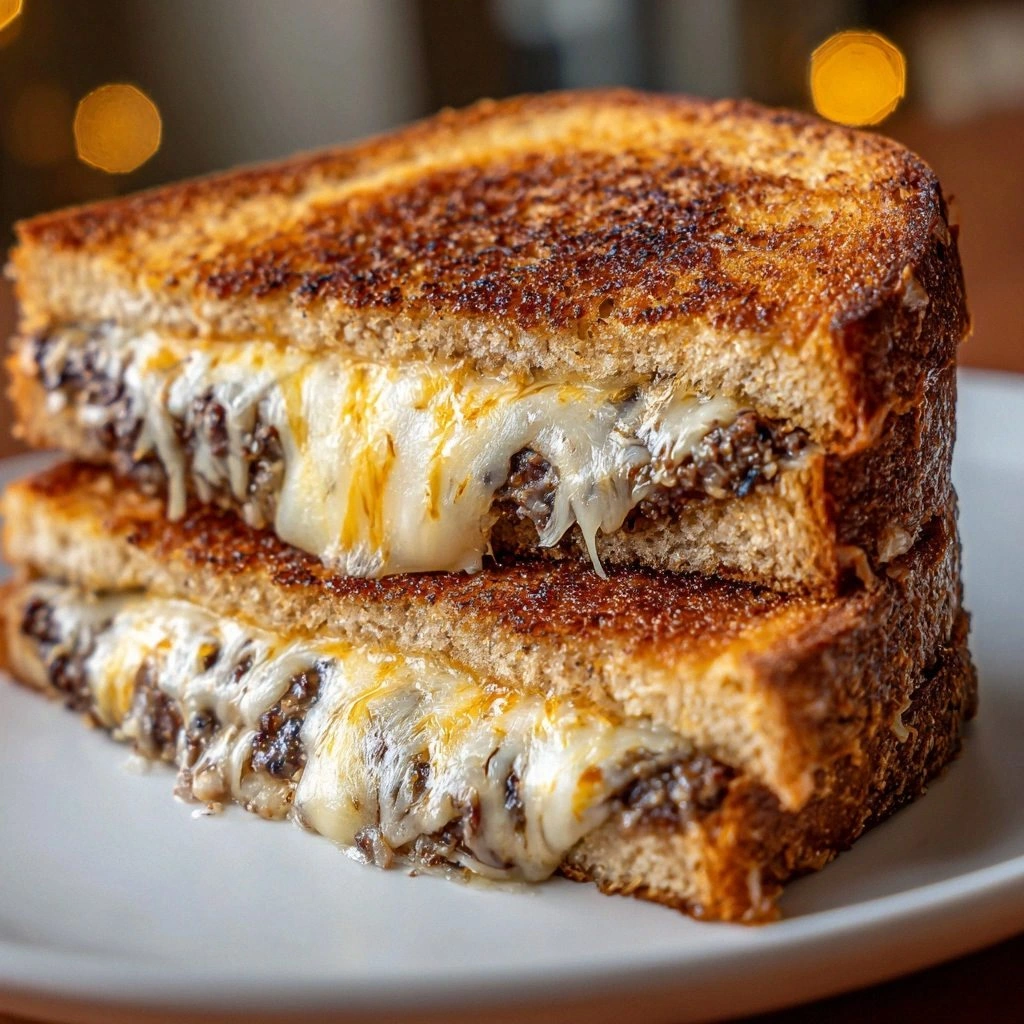
- Flavor: The black beans bring a creamy, savory depth that elevates the sandwich beyond plain cheese.
- Texture: The contrast between the crunchy crust and the molten cheese is a mouth‑watering experience.
- Convenience: Uses pantry staples, no fancy ingredients, making it a quick weeknight win.
- Protein: Black beans add a hearty protein punch that satisfies without the heaviness of meat.
- Versatility: Works with any bread type, from sourdough to gluten‑free, so you can tailor it to your diet.
- Heat Control: The skillet’s temperature is easy to manage, preventing burnt edges while keeping the inside gooey.
- Make‑Ahead: The bean spread can be prepped in advance, saving time on busy nights.
- Crowd‑Pleaser: Even picky eaters love the cheese and the subtle spice, making it perfect for family dinners.
Alright, let’s break down exactly what goes into this masterpiece…
Inside the Ingredient List
The Flavor Base
The black beans are the star of this sandwich, delivering a velvety, protein‑rich foundation that carries the entire flavor profile. Rinse the canned beans thoroughly to remove excess sodium, then mash them to your preferred consistency—smooth for a silky spread or slightly chunky for texture. A pinch of garlic powder and cumin infuse the beans with warmth and depth, turning a simple pantry item into a gourmet component. If you’re feeling adventurous, a splash of lime juice can brighten the beans, adding a subtle citrus zing that cuts through the richness.
The Texture Crew
Shredded cheese is the gooey glue that holds everything together. Cheddar gives a classic sharpness, but mozzarella offers a milder melt, while pepper jack introduces a spicy kick that elevates the sandwich to new heights. The bread, whether whole grain, sourdough, or gluten‑free, provides the sturdy canvas that absorbs the sauce and keeps the sandwich from becoming soggy. Butter or olive oil is applied to the bread before cooking, creating a crisp, golden crust that contrasts beautifully with the soft interior.
The Unexpected Star
Cumin and garlic powder might seem like ordinary seasonings, but they are the secret agents that transform the beans into a savory, aromatic spread. Cumin’s earthy undertone adds a subtle warmth that pairs perfectly with the sharpness of cheddar. Garlic powder, on the other hand, delivers a clean, savory note that doesn’t overpower but rather complements the cheese. Together, they create a flavor profile that feels both familiar and adventurous.
The Final Flourish
Salt and pepper are the finishing touches that bring the sandwich together. A pinch of salt enhances every ingredient, while a dash of pepper adds a gentle heat that wakes up the palate. If you’re watching sodium, you can reduce the salt or opt for a low‑sodium black bean variety. Remember, seasoning is a personal journey—feel free to tweak the amounts to suit your taste buds.
Everything’s prepped? Good. Let’s get into the real action.
The Method — Step by Step
- Step 1: Gather Your Arsenal. Lay out all ingredients on a clean surface. Preheat a non‑stick skillet over medium heat for about 2 minutes. The skillet should feel hot but not smoking—this ensures a crisp crust. If you’re new to grilling, set the heat to medium‑low to avoid burning.
- Step 2: Create the Bean Spread. In a bowl, mash the rinsed black beans with a fork until they’re mostly smooth but still have a few small lumps for texture. Stir in garlic powder, cumin, salt, and pepper until fully incorporated. The mixture should have a thick, spreadable consistency that holds together on the bread. If you prefer a thinner spread, add a splash of water or broth to thin it slightly.
- Step 3: Spread the Beans. Lay two slices of bread on a cutting board. Spread a generous layer of the bean mixture on one slice, leaving a small border around the edges. The beans should cover the bread evenly, creating a uniform base for the cheese. A well‑spread layer prevents gaps and ensures every bite is flavorful.
- Step 4: Layer the Cheese. Sprinkle shredded cheese over the bean layer, covering it completely. Use a generous amount so that the cheese melts into the beans, creating a gooey, cohesive filling. The cheese not only adds flavor but also acts as a barrier, preventing the bread from becoming soggy.
- Step 5: Seal the Sandwich. Top the cheese with the second slice of bread, pressing gently to ensure the edges align. This helps the sandwich hold together while cooking and keeps the filling from spilling out.
- Step 6: Butter the Skillet. Add a tablespoon of butter or a drizzle of olive oil to the preheated skillet. Let it melt and coat the bottom, ensuring even heat distribution. The fat will give the crust a beautiful golden color and a satisfying crunch.
- Step 7: Cook the First Side. Place the sandwich in the skillet and cook for 3-4 minutes until the bottom is golden brown. The cheese should start to melt, and the beans will warm through. If you’re using a lid, cover the skillet to trap heat and speed up the melting process.
- Step 8: Flip with Confidence. Carefully flip the sandwich using a wide spatula. Cook the second side for another 3-4 minutes until golden and the cheese is fully melted. The sandwich should emit a fragrant, buttery aroma that will make your kitchen feel like a five‑star restaurant. Be careful not to press too hard, or you risk squishing the beans.
- Step 9: The Final Touch. Once both sides are golden, remove the sandwich from the skillet and let it rest for a minute. This resting period allows the cheese to set slightly, making it easier to slice without losing the gooey center. A minute also lets the flavors meld together.
- Step 10: Slice and Serve. Cut the sandwich diagonally with a sharp knife. Serve immediately while the cheese is still molten. Pair with a side of crunchy carrot sticks or a light tomato soup for a balanced meal. The result is a sandwich that feels indulgent yet comforting—an instant mood booster.
That’s it—you did it. But hold on, I’ve got a few more tricks that will take this to another level.
Insider Tricks for Flawless Results
The Temperature Rule Nobody Follows
Many cooks assume that higher heat is always better for a grilled cheese, but a medium‑low setting is the sweet spot for this recipe. A lower heat allows the cheese to melt evenly without scorching the bread. I’ve tested it on a cast‑iron skillet, and the results are consistently golden and tender. If you’re using a non‑stick pan, keep the heat moderate to prevent the butter from burning.
Why Your Nose Knows Best
Your olfactory senses are the first to detect when the sandwich is ready. A warm, buttery scent signals that the crust is crisp, while a subtle hint of cumin and garlic indicates the beans are perfectly warmed. Trust your nose; if it smells like a summer BBQ, you’re ready to flip. If it’s still raw, give it another minute.
The 5‑Minute Rest That Changes Everything
After cooking, let the sandwich rest for exactly five minutes. This brief pause allows the cheese to set, making it easier to slice cleanly. The rest period also lets the flavors meld, enhancing the overall taste. I’ve found that a five‑minute rest is the perfect balance between gooeyness and structure.
Use a Lid for Even Melting
Covering the skillet with a lid traps steam, helping the cheese melt uniformly. It also keeps the heat concentrated, so the sandwich cooks faster. This is especially useful if you’re using a low‑fat cheese that melts slower. Just be sure to lift the lid for the last minute to allow the crust to crisp.
Cheese Selection Matters
While cheddar is the classic choice, swapping it for mozzarella or pepper jack can change the flavor profile dramatically. Mozzarella offers a milder, stretchy melt, while pepper jack adds a subtle heat that complements the cumin. Experimenting with cheese blends can elevate the sandwich to a gourmet level. Just remember that the cheese’s melting point affects cooking time.
Make‑Ahead Bean Spread
The bean mixture can be prepared up to 24 hours ahead and stored in an airtight container. When you’re ready to cook, let it come to room temperature for a few minutes. This makes the sandwich prep a breeze on busy nights. I’ve never regretted making a batch of bean spread in advance; it saves time and keeps the flavor fresh.
Creative Twists and Variations
This recipe is a playground. Here are some of my favorite ways to switch things up:
Breakfast Burrito Grilled Cheese
Add scrambled eggs, diced tomatoes, and a sprinkle of cilantro to the bean spread before adding cheese. The result is a breakfast sandwich that’s both protein‑packed and flavorful. The eggs add a creamy texture that complements the beans, while the cilantro adds a fresh, herbal note.
Vegan Delight
Replace the butter with a vegan spread and use a plant‑based cheese alternative. The beans remain the same, providing protein and fiber. The vegan cheese melts beautifully, and the overall sandwich stays light yet satisfying.
Spicy Chipotle Version
Stir in a tablespoon of chipotle in adobo sauce to the bean mixture. The smoky heat pairs wonderfully with the cumin and garlic. This version is perfect for those who love a kick in every bite.
Southwest Wrap
Use a tortilla instead of bread, spread the bean mixture, add cheese, and grill until crisp. The tortilla gives a different texture and is great for on‑the‑go meals. Add avocado slices for extra creaminess.
Loaded Nacho Grilled Cheese
Top the sandwich with diced jalapeños, corn kernels, and a dollop of sour cream before adding cheese. The nacho flavor profile is a crowd‑pleaser for parties. The jalapeños add a subtle heat that balances the richness.
Herbed Mediterranean
Add chopped fresh parsley, oregano, and a squeeze of lemon juice to the bean mixture. The herbs bring a bright, aromatic quality that contrasts with the cheese. This version is a refreshing take on the classic grilled cheese.
Storing and Bringing It Back to Life
Fridge Storage
Store any leftover sandwiches in an airtight container in the refrigerator for up to 2 days. Keep the sandwich whole to preserve the crunch. If you’re storing the bean spread separately, it will stay fresh for 3–4 days. Reheat in a skillet for a few minutes to regain crispness.
Freezer Friendly
Wrap individual sandwiches tightly in foil and place them in a freezer bag. They will keep for up to 3 months. When ready, thaw overnight in the refrigerator and then reheat in a skillet. The crust will regain its golden crispness.
Best Reheating Method
Reheat the sandwich in a skillet over medium heat, pressing lightly with a spatula. Add a splash of water to the pan and cover for 1 minute; the steam will restore moisture. Let it rest for 30 seconds before cutting. The result is a sandwich that tastes almost brand‑new.
Serving Ideas
Pair your Black Bean Grilled Cheese with a simple side of cucumber salad, or toss a handful of mixed greens with a light vinaigrette. The crispness of the greens balances the richness of the sandwich. For a cozy night in, serve it with a bowl of tomato basil soup that’s warm and comforting. If you’re hosting a casual gathering, slice the sandwich into bite‑size squares and serve with a side of sweet potato fries for a playful, finger‑food twist.
The beauty of this sandwich is that it’s both a meal and a snack. It works as a hearty lunch, a comforting dinner, or a midnight craving. The flavors are robust enough to impress guests, yet simple enough for a quick weeknight fix. Serve it hot, and watch the smiles appear—this sandwich is guaranteed to be a crowd‑pleaser.